

Peanut Butter Marshmallow Squares

This post may contain affiliate links. Please read our full disclosure policy.
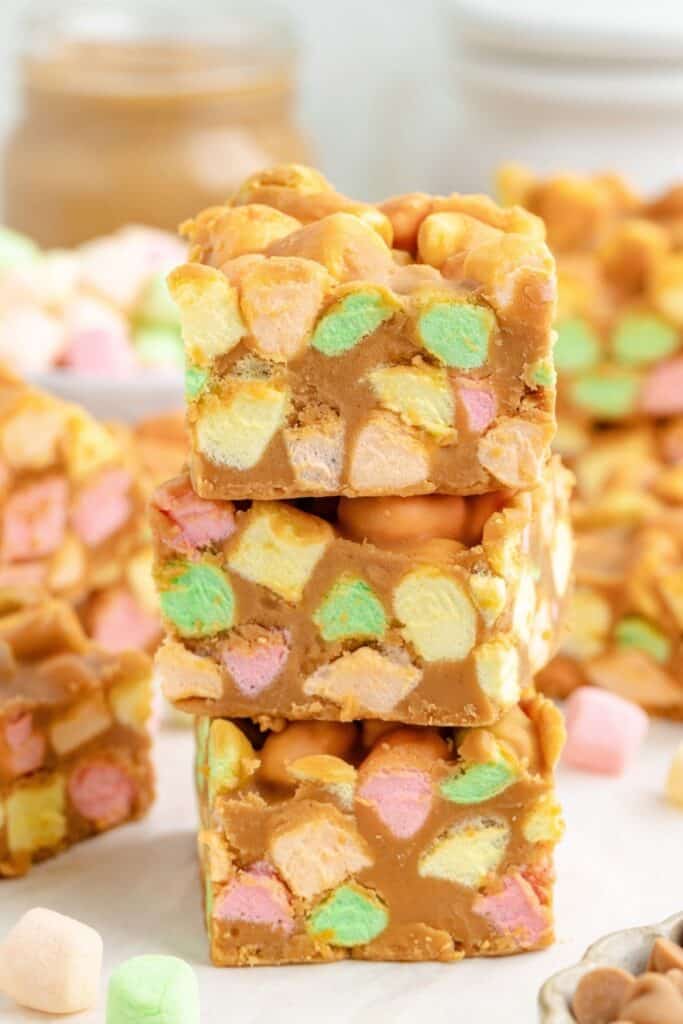
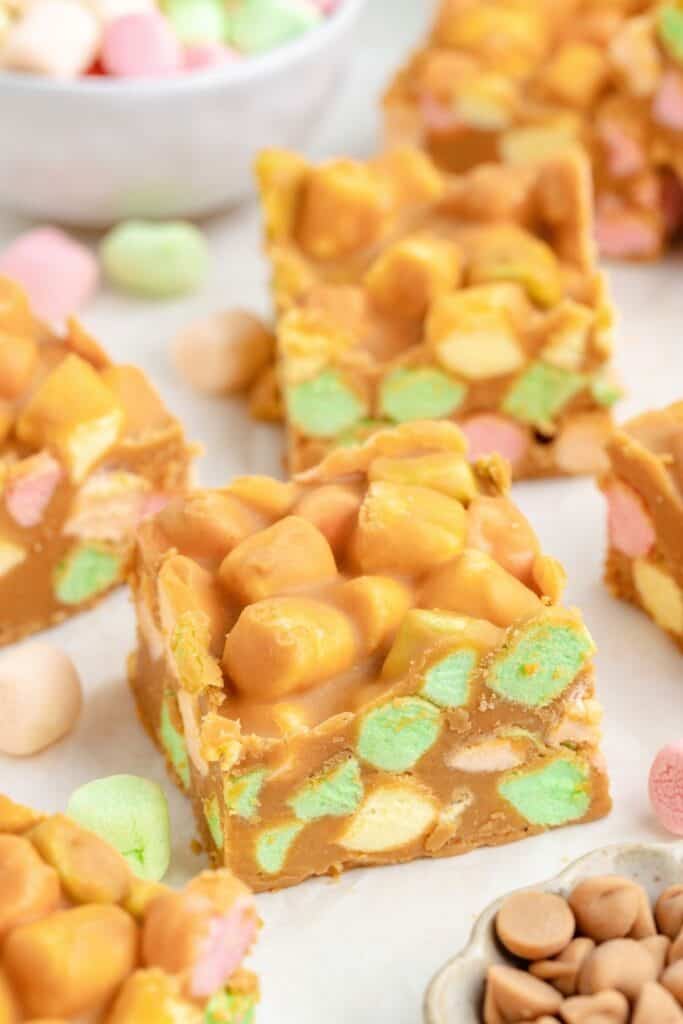
These Peanut Butter Marshmallow Squares are basically a peanut butter and butterscotch fudge packed with fluffy mini marshmallows. No baking, no fancy ingredients, just a retro dessert that deserves a comeback.
Why I Love These Peanut Butter Squares With Marshmallows
I first came across this recipe online a few years ago, gave it a try, and immediately loved it. I’ve always been a fan of peanut butter desserts, especially easy treats like my 2 Ingredient Fudge with Peanut Butter, but the combination of peanut butter, butterscotch, and marshmallows is especially good.
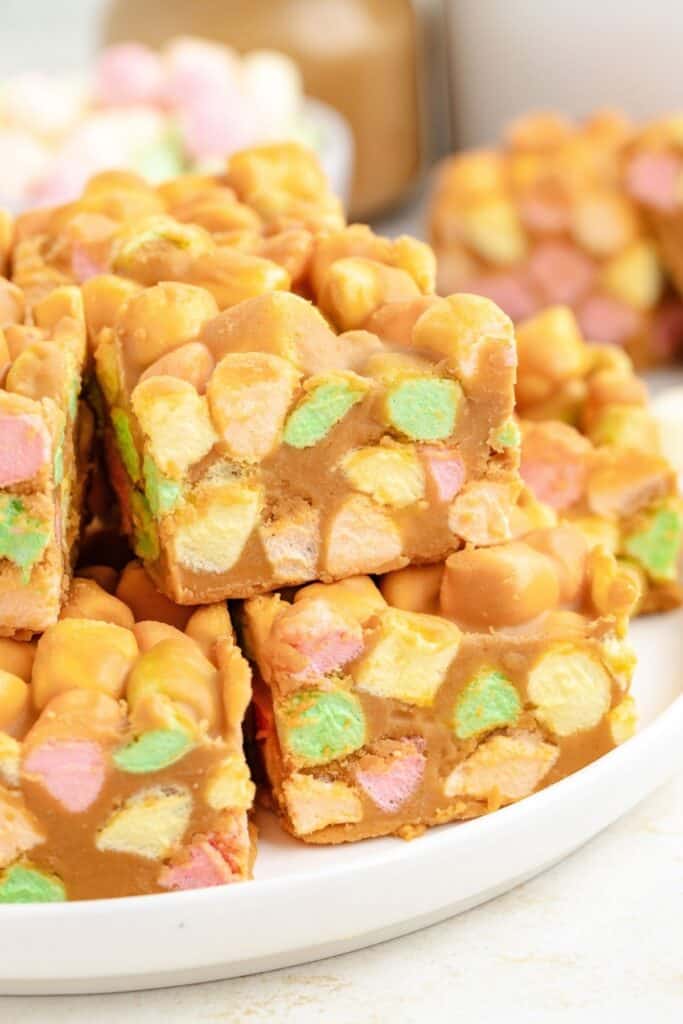
I originally made these with regular mini marshmallows, which taste just as good, but the colorful fruit marshmallows are so much more fun! They’re actually known as Confetti Squares in Canada, and it’s easy to see why. I think they’d be especially cute with red and green marshmallows for Christmas, too.
I was a little skeptical about refrigerating these since marshmallows can change texture when chilled, but they held up surprisingly well. And that fridge time is important because it helps the squares firm up enough to cut into nice, clean pieces. If you like the combination of peanut butter and marshmallows, my Peanut Butter Fluff with Mini Marshmallows is another fun way to use those flavors without turning on the oven.
Ingredients
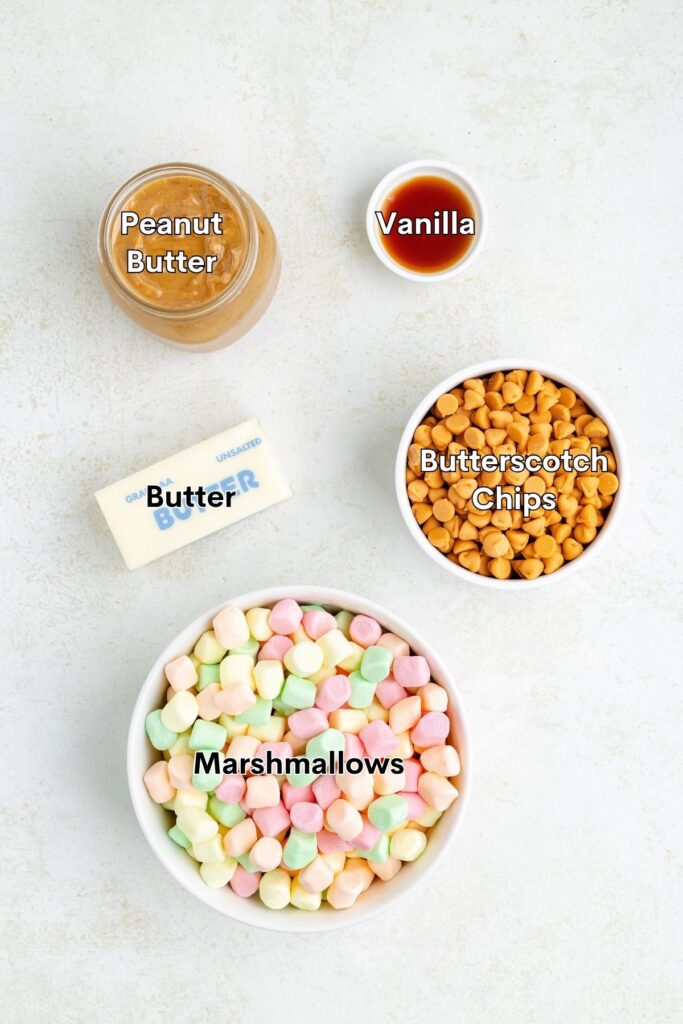
- Unsalted butter – Helps create a smooth, soft butterscotch base.
- Creamy peanut butter – Stick with a smooth, no-stir peanut butter like Jif or Skippy. Natural peanut butter can separate and affect how well the squares set.
- Butterscotch chips – Give the squares their rich butterscotch flavor and help them firm up as they cool.
- Vanilla extract – Adds a little extra flavor to the peanut butter mixture.
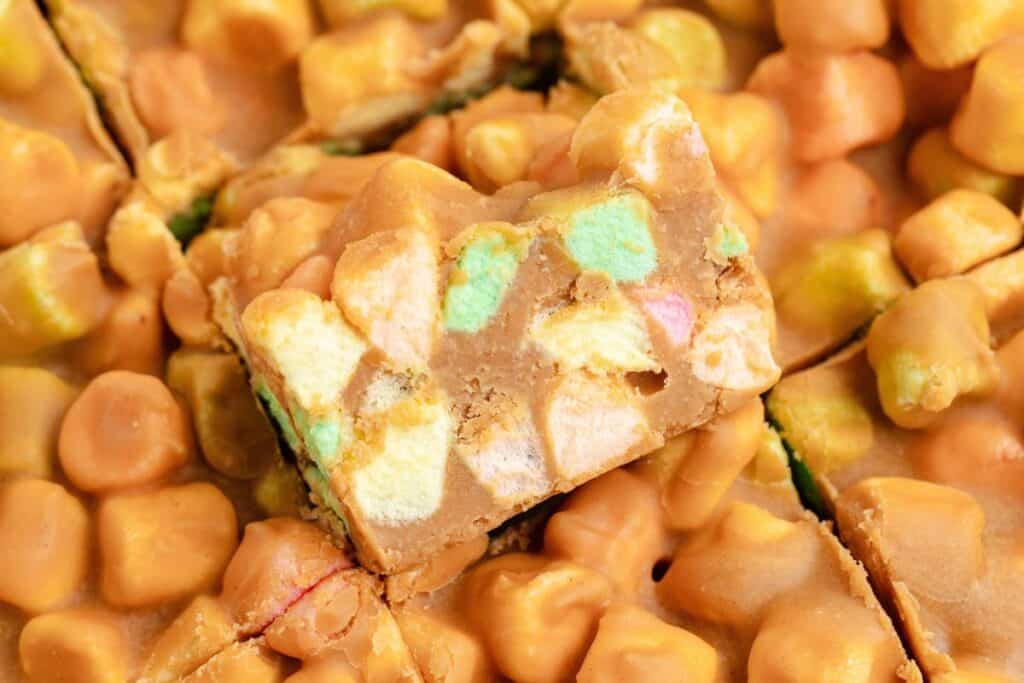
- Mini marshmallows – Regular mini marshmallows work just fine, but the colorful fruit-flavored ones give these their classic confetti appearance. Use a 10-ounce bag of either variety.
How to Make Marshmallow Peanut Butter Squares
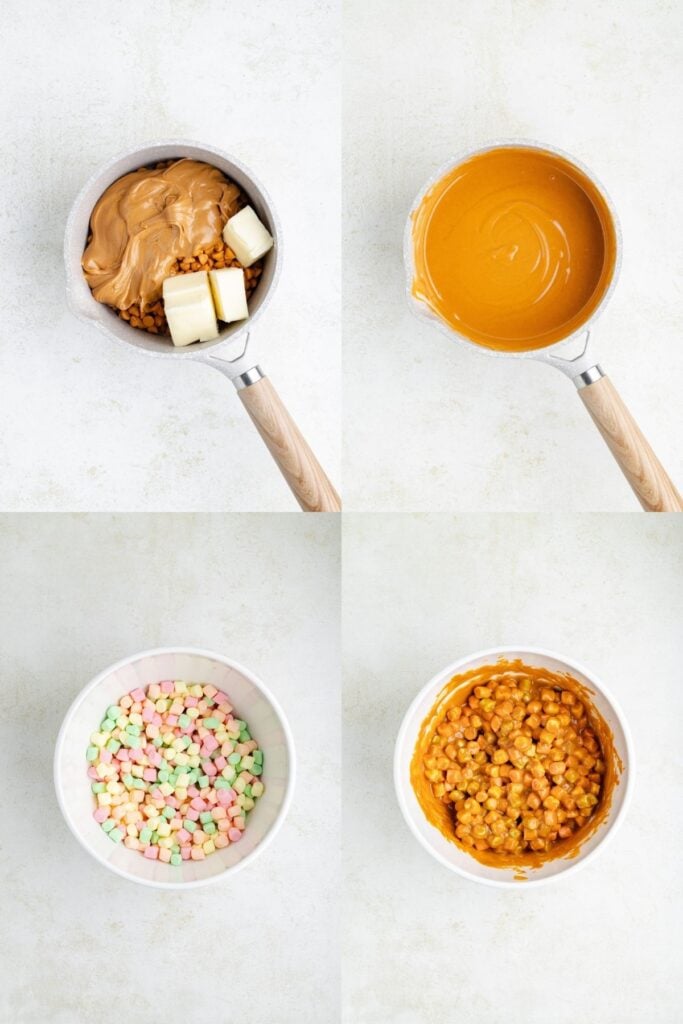
- Melt the peanut butter mixture – Add the butter, peanut butter, and butterscotch chips to a saucepan over medium-low heat. Stir continuously until everything is melted and smooth, making sure the mixture doesn’t boil.
- Add vanilla and cool – Remove from the heat and stir in the vanilla extract. Let the mixture cool for 5–10 minutes, just until it’s no longer hot enough to melt the marshmallows but hasn’t started to thicken or set.
- Coat the marshmallows – Place the mini marshmallows in a large mixing bowl. Pour the slightly cooled peanut butter mixture over them and gently stir until evenly coated.
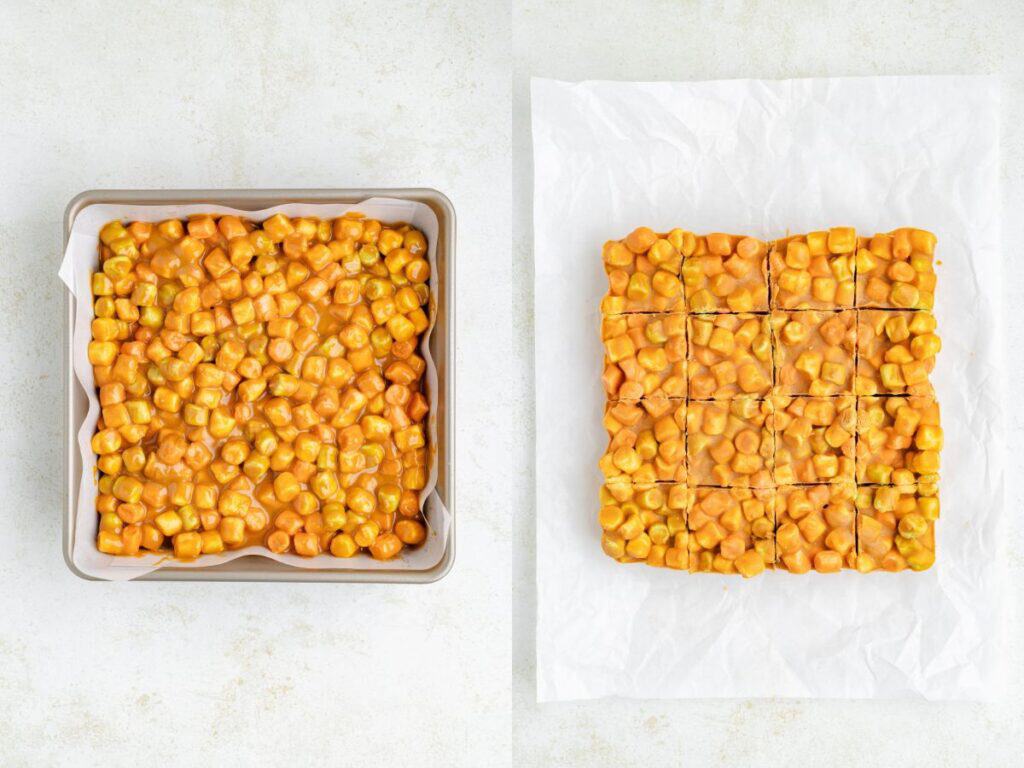
- Transfer to the pan – Spread the mixture into a parchment-lined 9×9-inch pan, pressing it into an even layer.
- Chill and slice – Let the squares cool completely, then refrigerate for at least 2 hours until firm. Lift them out of the pan using the parchment paper and cut into 16 squares.
Variations and Substitutions
- Regular mini marshmallows – Swap the colorful fruit marshmallows for regular mini marshmallows. The squares will taste just as good, just without the confetti look.
- Holiday marshmallows – Try red and green mini marshmallows for Christmas or other seasonal colors for different holidays.
- Crunchy peanut butter – For a little extra texture, you could try crunchy no-stir peanut butter in place of smooth. The squares will have small peanut pieces throughout, though this variation hasn’t been tested.
Tips for Success
- Keep the heat low – Melt the butter, peanut butter, and butterscotch chips over medium-low heat, stirring constantly. Don’t let the mixture boil, or the butterscotch can scorch and become grainy.
- Let the mixture cool slightly – This is probably the most important step! If the peanut butter mixture is too hot, it will melt the marshmallows. Let it cool for 5–10 minutes, but don’t wait so long that it starts to thicken and becomes difficult to stir.
- Line your pan with parchment – Leave some overhang on the sides so you can lift the entire batch out of the pan for easier slicing.
- Don’t skip the chill time – The squares need at least 2 hours in the refrigerator to firm up. Even though marshmallows can sometimes change texture when refrigerated, they hold up well in this recipe, and chilling makes it much easier to cut clean squares.
- Use a sharp knife – For the neatest squares, use a sharp knife and wipe the blade clean between cuts.
Want to be the first to know when the next no-bake recipe is published? Sign up for our newsletter updates below.
More Easy No-Bake Dessert Recipes
If you love desserts that don’t require turning on the oven, try these no-bake treats.
Did you make these confetti squares? Please leave a star rating and share your thoughts in the comments below.
Peanut Butter Marshmallow Squares Recipe
Ingredients
- 1/2 cup unsalted butter
- 1 cup creamy no-stir peanut butter like Jif or Skippy (do not use natural)
- 1 (11-ounce) bag butterscotch chips
- 1 teaspoon vanilla extract
- 1 (10-ounce) bag mini marshmallows fruit or regular
Instructions
- Line a 9×9-inch baking pan with parchment paper, leaving some overhang on the sides for easy removal.
- Add the butter, peanut butter, and butterscotch chips to a medium saucepan over medium-low heat. Stir continuously until everything is completely melted and smooth. Do not allow the mixture to boil.
- Remove the saucepan from the heat and stir in the vanilla extract.
- Let the peanut butter mixture cool for 5–10 minutes, stirring occasionally. It should be cool enough that it won’t melt the marshmallows but still warm and fluid enough to pour easily. Do not let it begin to thicken or set.
- Place the mini marshmallows in a large mixing bowl. Pour the slightly cooled peanut butter mixture over the marshmallows and gently stir until all the marshmallows are evenly coated.
- Transfer the mixture to the lined baking pan and spread it into an even layer, gently pressing it into the corners.
- Allow the squares to cool completely at room temperature, then refrigerate for at least 2 hours, or until firm.
- Lift out of the pan using the parchment paper and cut into 16 squares.
Notes
- Use a smooth, no-stir peanut butter like Jif or Skippy. Natural peanut butter is not recommended because the oil can separate and affect how the squares set.
- Let the peanut butter mixture cool slightly before adding it to the marshmallows. If it’s too hot, it will melt the marshmallows. If it cools too much, it can begin to thicken and become difficult to mix.
- Room temperature: Store in an airtight container in a cool place for up to 2 days. The squares may soften in a warm kitchen.
- Refrigerator: Store in an airtight container in the refrigerator for up to 1 week. Separate layers with parchment paper to prevent sticking.
- Freezer: Freezing is not recommended because thawing may affect the marshmallows’ texture.
Nutrition
Disclaimer: Nutrition information is estimated based on automated calculations and should be considered as an approximation. These estimates are provided as a courtesy. Please use your own brand’s nutritional values to verify accuracy.