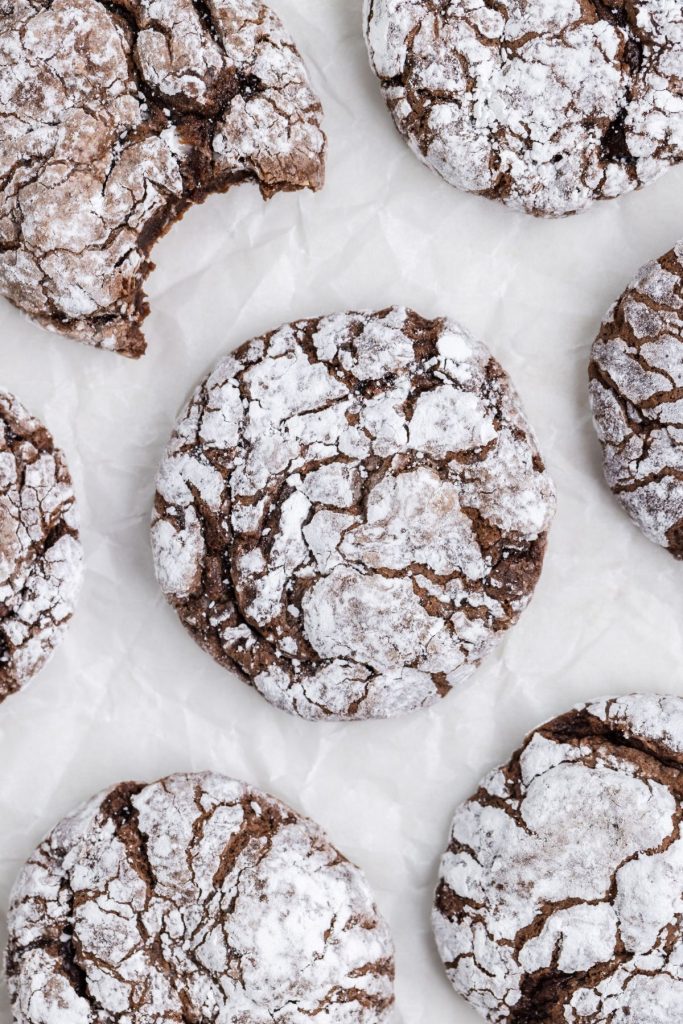
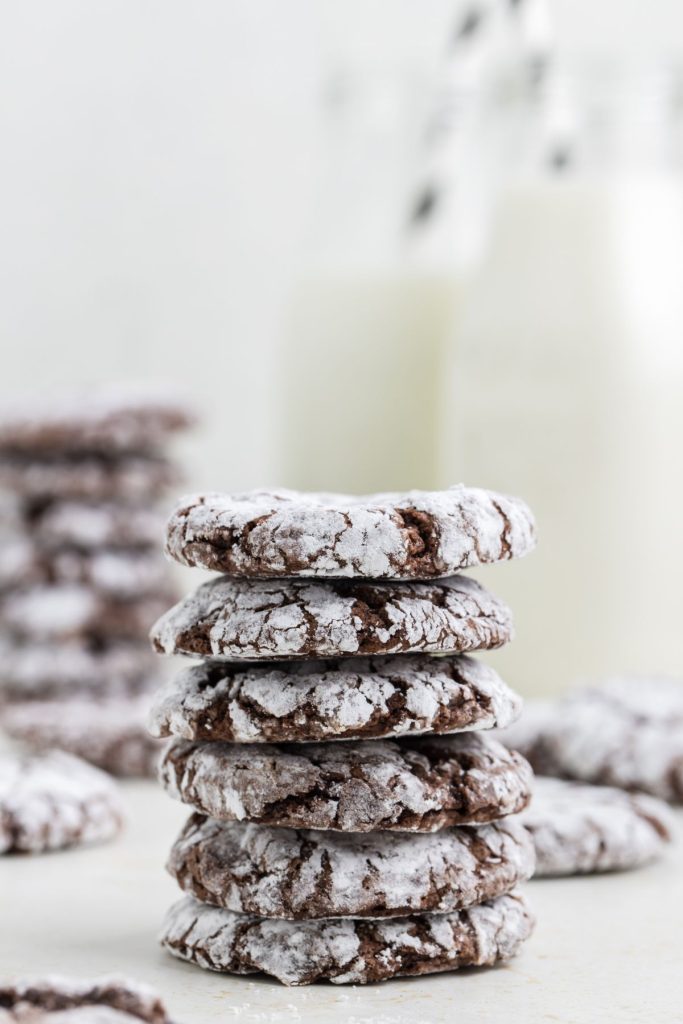
Chocolate Cool Whip Cookies

These Chocolate Cool Whip Cookies are a fun and easy treat that anyone can make. Made with just four ingredients, including a box of chocolate cake mix and a tub of Cool Whip, they’re perfect for busy days when you need a quick dessert that satisfies your sweet tooth.
Easy Chocolate Cool Whip Cookies Recipe
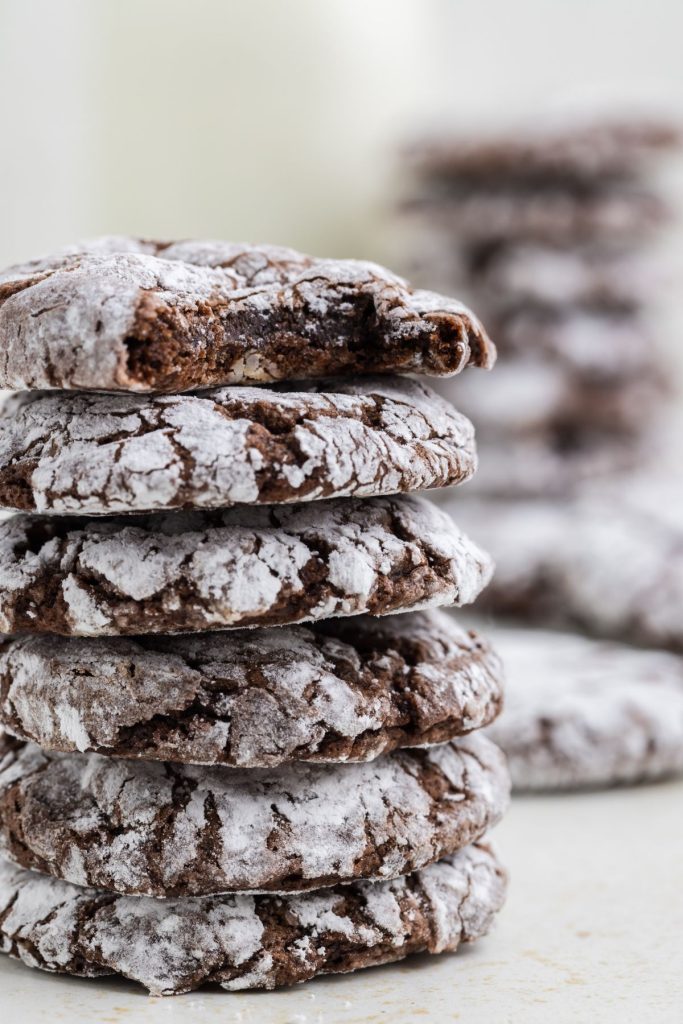
I love these delicious cookies because they’re soft, chewy, and made with just four simple ingredients. The only thing you need to measure is the powdered sugar for rolling, and honestly, you don’t even have to be exact — just toss some into a bowl to roll the cookie dough balls.
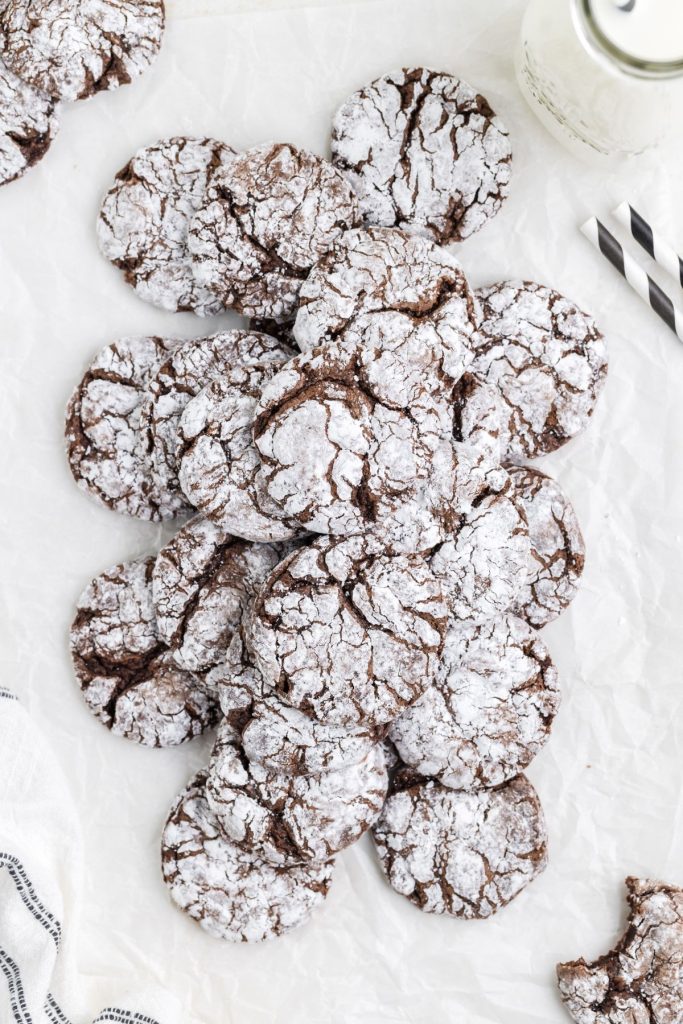
This easy recipe is also perfect for adding to holiday cookie trays! They come together in no time, yet taste like you put in a lot of effort. The soft, chewy texture paired with the rich chocolate makes them a favorite holiday sweet treat with friends and family.
Speaking of easy chocolate cookies, check out my Peppermint Bark Cookies and my Chocolate M&M Cake Mix Cookies!
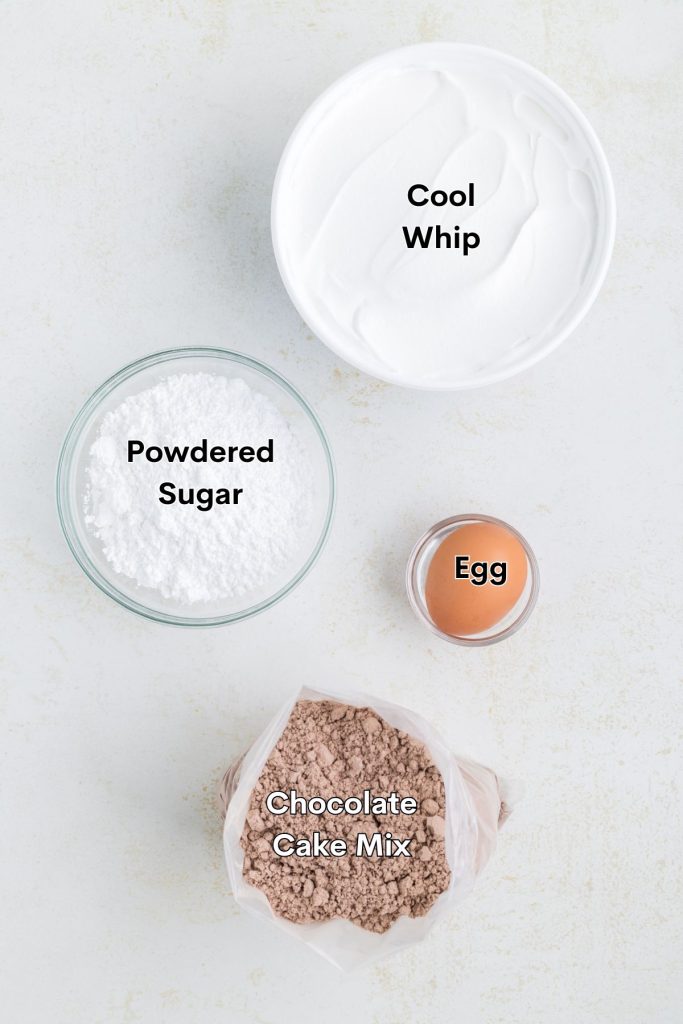
Basic Ingredients
- Chocolate cake mix – Serves as the base, infusing a rich chocolate flavor into each cookie. I used Duncan Hines Devil’s Food.
- Egg – Provides structure and moisture for the perfect cookie texture.
- Cool Whip – Adds softness to the cookies, giving them a chewy center. Make sure to use thawed Cool Whip for the best texture.
- Powdered Sugar – Adds sweetness and creates a crinkle texture on the cookies, enhancing their taste and appearance. Don’t skip this step!
Making the Easy Cookies
- Prep– Preheat the oven to 350 degrees F and line three baking sheets with parchment paper.
- Combine ingredients – In a large bowl, combine the chocolate cake mix, Cool Whip, and your lightly beaten egg. Stir until they form a slightly sticky dough. Stirring may require some effort and might not seem to come together at first, but keep at it! You can use a rubber spatula or a hand mixer on the lowest setting, being mindful not to let the cake mix escape the bowl.
- Shape the cookies – Using a 1-tablespoon scoop, form balls of dough. Drop each dough ball in the powdered sugar, and roll it, ensuring it’s coated all over. Arrange the sugar-coated balls on the parchment-lined cookie sheets, leaving approximately 1 ½ inches of space between each.
- Into the oven – Bake the cookies for 9-11 minutes. Keep a close eye; you’ll know they’re ready when the edges are set, and they have a slightly cracked appearance.
- Cool and set – Allow the cookies to cool on the baking sheets for 5 minutes before transferring them to a wire rack to finish cooling.

Variations and substitutions
Different flavor cake mix – Experiment with cake mix flavors like red velvet, lemon, or even strawberry. While chocolate is my favorite flavor of cake mix to use, I also tried all three of the other flavors, and they are also delicious!
Chocolate chip cookies – Fold 1 cup of chocolate chips into the dough for an extra burst of chocolatey goodness. I recommend using mini chocolate chips as these cookies are on the smaller side.
Mint chocolate – Add 1 teaspoon of peppermint extract to the dough for a minty twist.
Tips for success
- Use Cool Whip, not whipped cream – It’s essential to use Cool Whip rather than whipped cream in these cookies. Cool Whip contains stabilizers that play a crucial role in giving the cookies their structure. Substituting with whipped cream may result in cookies that are too soft or fail to maintain their shape.
- Ensure Cool Whip is thawed – Make sure your Cool Whip is fully thawed before mixing it with other ingredients. This is crucial for achieving the right texture in the cookies.
- Lightly beat the egg – Lightly beating the egg before adding it to the dough ensures a more even distribution of the egg throughout the mixture.
- Use a cookie scoop for consistency – For consistently sized cookies, use a 1-tablespoon scoop when forming the dough balls. I find that using a quick-release cookie scoop, like the easiest way to scoop the dough, not only simplifies the process but also helps maintain uniform cookie sizes, resulting in even baking.
- Refrigerate sticky dough – Don’t be alarmed if the dough is a bit sticky to handle. If you find it challenging to scoop due to stickiness, place it in the refrigerator for about 30 minutes. This brief chill helps the dough firm up, making it easier to work with and maintain its shape during baking.
- Space the dough balls – Leave enough space between the cookies on the baking sheet. These cookies tend to spread while baking, and proper spacing prevents them from merging into one giant cookie.
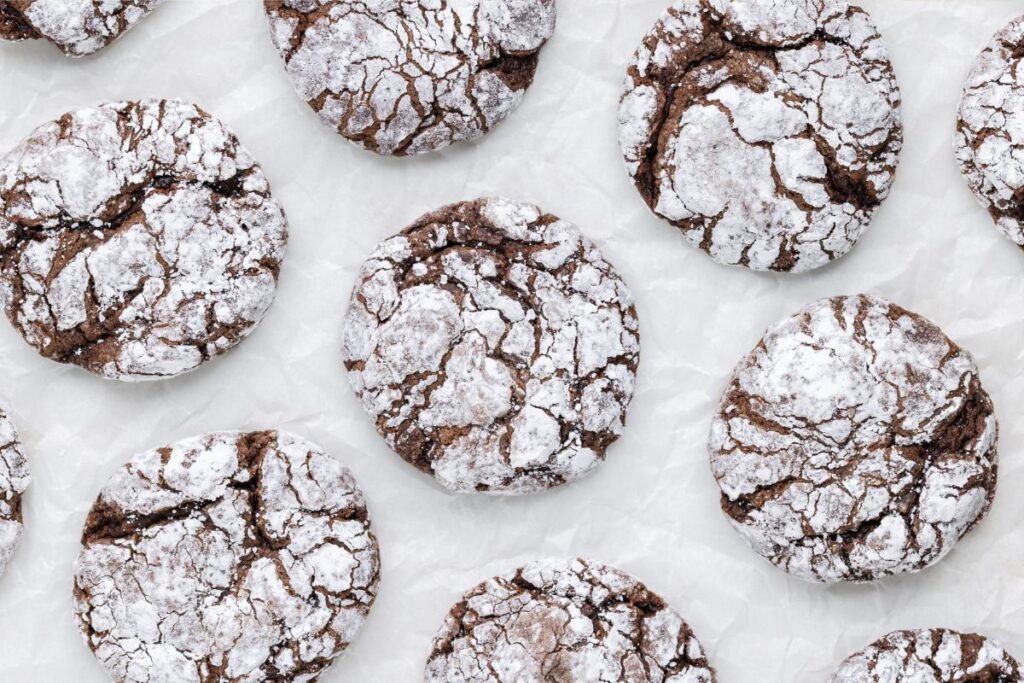
Why are my cookies not crinkling as expected?
The crinkly appearance of Chocolate Cool Whip Cookies largely depends on the powdered sugar coating interacting with the cookie dough while baking. If your cookies are not crinkling as anticipated, ensure that you generously coat each dough ball with powdered sugar before placing it on the baking sheet. The sugar coating creates surface tension, causing the cookies to crack during baking, resulting in the characteristic crinkle effect.
Storage
Store leftover cookies in an airtight container at room temperature for 3-4 days.
The cookies can be frozen in an airtight container or freezer bag for up to two months. Allow the cookies to cool completely before transferring them to a freezer-safe bag or container. Place a sheet of parchment paper between the layers of cookies to prevent the cookies from sticking together.
Want to be the first to know when the next easy cookie recipe is published? Sign up for our newsletter updates below.
Want more Chocolate Desserts?
Check out these recipes.
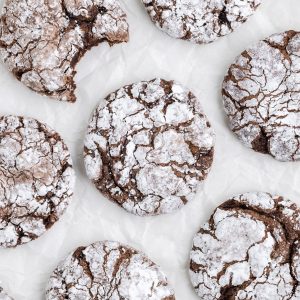
Did you love these chocolate crinkle cookies? Let me know what you think in the comments below.
Chocolate Cool Whip Cookies
Ingredients
- 1 (15.25 ounce) box of chocolate cake mix
- 1 (8 ounce) tub of Cool Whip thawed
- 1 large egg lightly beaten
- ⅔ cup powdered sugar
Instructions
- Preheat the oven to 350 degrees F and line two cookies sheets with parchment paper.
- Mix the cake mix, cool whip, and egg in a large bowl until well combined. The mixture will be sticky.
- Place the powdered sugar in a small shallow ball.
- Scoop balls of dough into the powdered sugar using a 1 tablespoon scoop. Roll the balls in the powdered sugar and arrange on the cookie sheets, leaving 1 ½ inches between each cookie.
- Bake for 9-11 minutes or until the edges are set.
- Allow the cookies to cool for 5 minutes on the cookie sheet before transferring them to a wire rack to finish cooling.
Notes
- Store leftovers in an airtight container at room temperature for 3-4 days.
- The cookies can be frozen for up to two months. Allow the cookies to cool completely before transferring them to a freezer-safe bag or container. Place a sheet of parchment paper between layers to prevent the cookies from sticking together.
Nutrition
Disclaimer: Nutrition information is estimated based on automated calculations and should be considered as an approximation. These estimates are provided as a courtesy. Please use your own brand’s nutritional values to verify accuracy.
Looks so festive and delicious!
I have never heard of these, but they sound and look super delicious….definitely have to give them a try. Thanks so much for sharing 😉
This looks delicious. Thanks for sharing.
oooo, now I want to try this with lemon!
The lemon ones are SO good too!
WHAT TEMPERATURE DO YOU BAKE THEM AT??????
350 degrees F.