

White Chocolate Cool Whip Candy



This post may contain affiliate links. Please read our full disclosure policy.
This White Chocolate Cool Whip Candy is a fun little twist on homemade candy, with just three ingredients and no baking required! Each bite has a light, fluffy white chocolate center tucked inside a sweet candy coating. They’re just the thing for holiday candy trays or gifting.
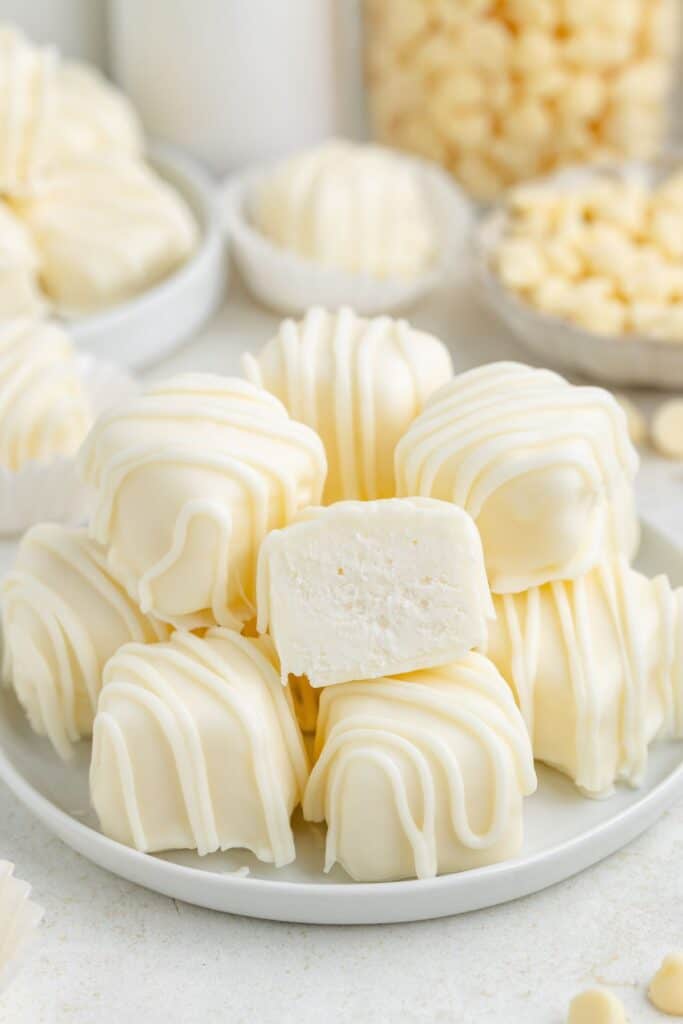
A White Chocolate Twist on Classic Cool Whip Candy
My original Cool Whip Candy made with milk chocolate is one of the most popular recipes on the blog, and for good reason! So naturally, I wanted to give it a white chocolate twist, and I’m so happy with how it turned out.
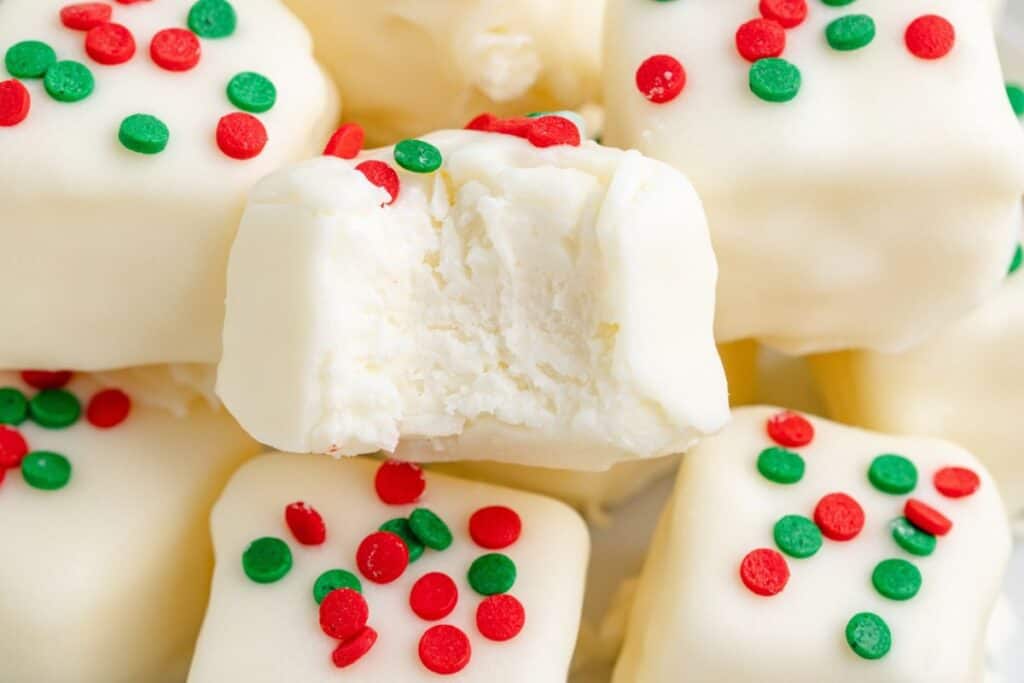
One of my favorite things about this version is how easy it is to change the decorations for different holidays. It’s perfect for Christmas candy trays, but add some pastel sprinkles, and you’ve got a cute Easter treat, just like my White Chocolate Crock Pot Candy.
Ingredients
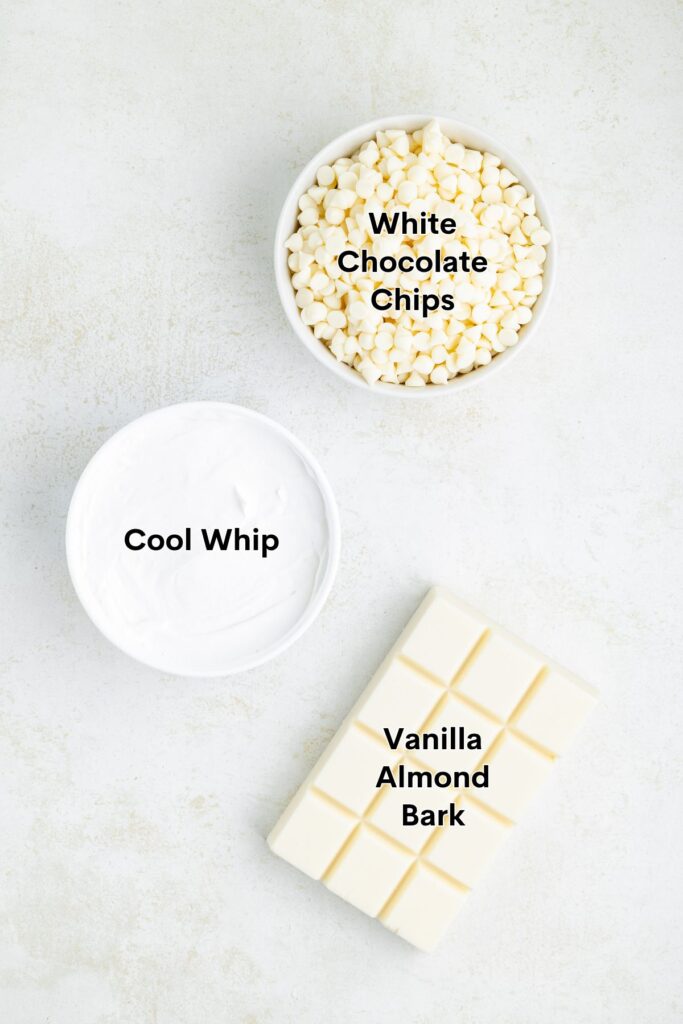
- White chocolate chips– You’ll need 22-ounces of white chocolate chips for the candy centers. I recommend Ghirardelli for this recipe.
- Cool Whip – One 8-ounce tub of thawed Cool Whip gives the candy its light, fluffy center. Be sure it’s completely thawed before mixing it with the melted chocolate.
- Vanilla almond bark – Coats the candy squares in a smooth, white chocolate-flavored shell. Almond bark melts easily and sets firm, making it a good choice for dipping.
How to Make White Chocolate Cool Whip Candy
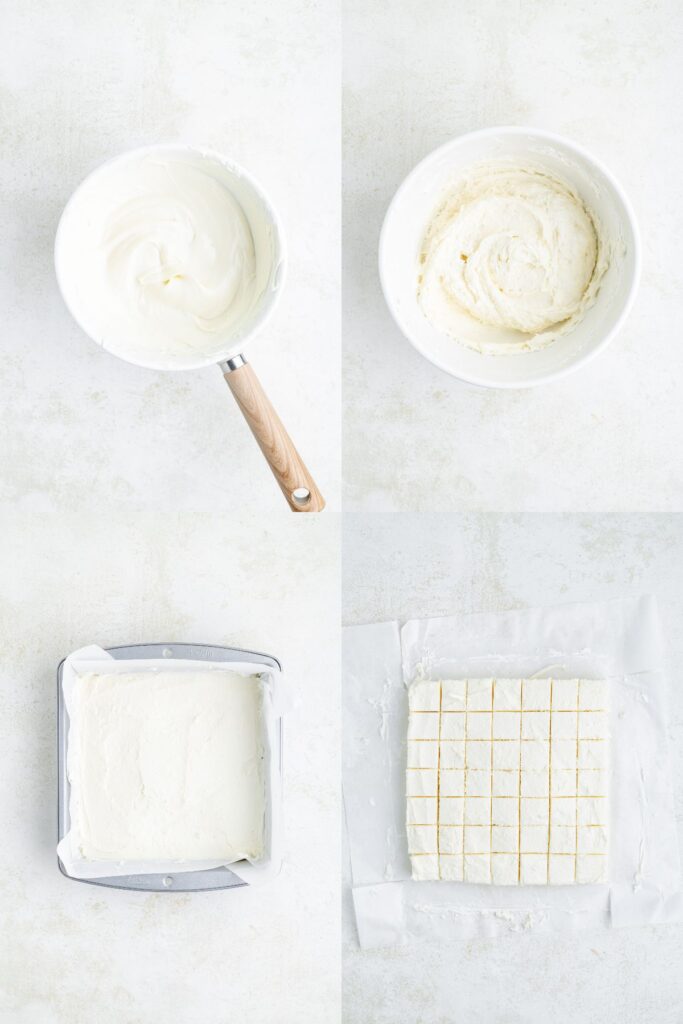
- Melt the white chocolate – Melt the white chocolate chips until smooth, then let the chocolate cool to room temperature. It should no longer be warm but still be melted and easy to stir.
- Fold in the Cool Whip – Gently fold the thawed Cool Whip into the melted chocolate until fully combined. The mixture should be thick and fluffy.
- Spread and freeze – Line an 8×8-inch baking pan with parchment paper, leaving some overhang for easy removal. Spread the candy mixture into an even layer and freeze for at least 2 hours, or until completely firm
- Cut into squares – Lift the frozen candy out of the pan using the parchment paper and cut it into approximately 1-inch squares. Keep the squares frozen until you’re ready to dip them.
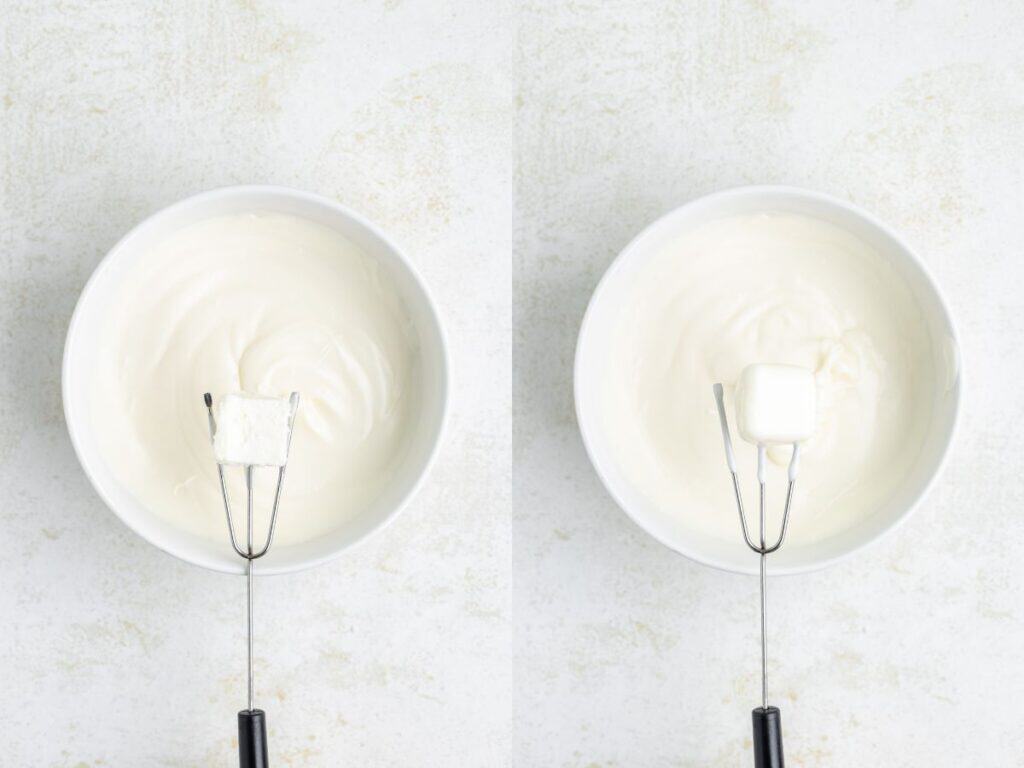
- Dip in almond bark – Melt the white almond bark according to the package directions. Dip each candy square into the melted coating, allowing the excess to drip off before placing it on parchment paper to set.
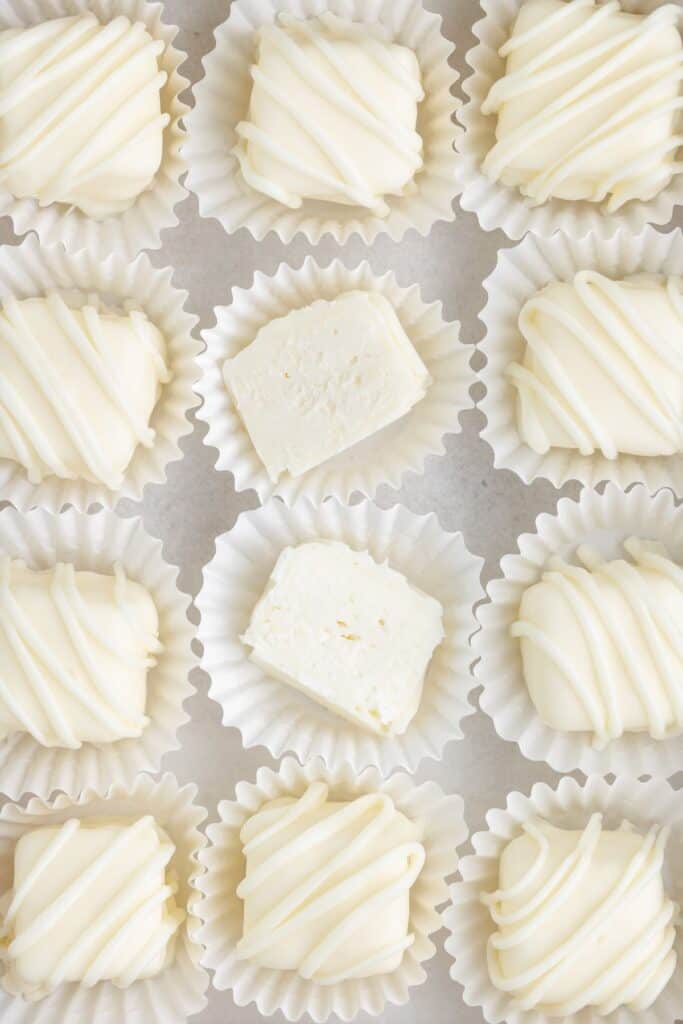
- Decorate and chill – If desired, drizzle the remaining melted almond bark over the candies for a decorative finish. Refrigerate until the coating is firm, and keep the finished candy refrigerated until serving.
Variations and Substitutions
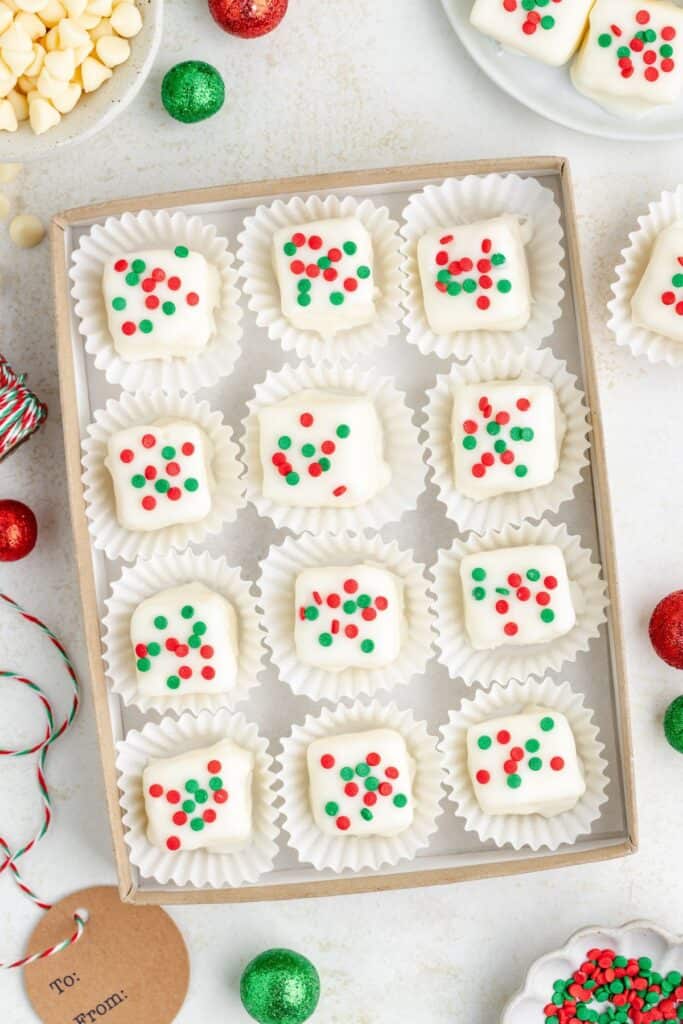
- Change the decorations – Add holiday sprinkles to the candy coating before it sets. Red and green sprinkles are great for Christmas, while pastel colors work well for Easter.
- Use colored candy melts – Swap some of the white almond bark for colored candy melts to add a contrasting drizzle over the finished candies.
- Coat in chocolate almond bark – Swap the white almond bark for chocolate almond bark to give the candies a white chocolate center with a chocolate outer shell.
Tips for Success
- Use good-quality white chocolate – Choose a white chocolate that tastes good enough to eat straight from the bag, since it’s the main flavor in this candy. White chocolate chips are the most cost-effective option, but you can also use chopped white chocolate bars.
- Let the chocolate cool – This is one of the most important parts of the recipe. The melted white chocolate should cool to room temperature before adding the Cool Whip, but it still needs to be fluid enough to stir. If it’s too warm, the Cool Whip can lose its fluffy texture. If it’s too cool, the chocolate will start to harden.
- Fold gently – Use a spatula to fold the Cool Whip into the melted chocolate rather than stirring vigorously. This helps maintain the light, fluffy texture of the candy centers.
- Freeze until completely firm – The candy mixture needs to be solid before cutting and dipping. If the squares start to soften while you’re working, return them to the freezer until firm.
- Work in small batches – Keep most of the candy squares in the freezer while dipping a few at a time. This helps them hold their shape when coated in the warm almond bark.
- Let excess coating drip off – Allow the extra almond bark to drip off each square before placing it on parchment paper. This keeps the coating from becoming too thick or pooling around the bottom of the candies.
Want to be the first to know when the next no-bake dessert recipe is published? Sign up for our newsletter updates below.
Easy No-Bake Candy for the Holidays
If you’re filling up your holiday candy trays, here are a few more no-bake treats to add to the mix.
- Cool Whip Candy Christmas Trees
- Rolo Pretzels
- Sugar Cookie Truffles
Did you make this easy white chocolate candy? Please leave a star rating and share your thoughts in the comments below.
White Chocolate Cool Whip Candy Recipe
Ingredients
- 22 ounces white chocolate chips (I recommend Ghirardelli)
- 1 (8-ounce) tub Cool Whip thawed
- 24 ounces vanilla almond bark
Instructions
- Line an 8×8-inch baking pan with parchment paper, leaving some overhang on the sides for easy removal.
- Melt the white chocolate chips in a microwave-safe bowl in 30-second intervals, stirring between each, until smooth. Allow the chocolate to cool to room temperature without letting it begin to harden. It should still be smooth and stirrable.
- Gently fold the thawed Cool Whip into the melted white chocolate using a spatula until fully combined.
- Spread the mixture evenly into the lined baking pan. Freeze for at least 2 hours, or until completely solid.
- Lift the frozen candy from the pan using the parchment paper, then cut it into approximately 1-inch squares. Return the squares to the freezer while you melt the coating.
- Melt the white almond bark according to the package directions.
- Working with a few frozen squares at a time, dip each piece into the melted almond bark, allowing the excess coating to drip off. Place on a parchment-lined baking sheet to set.
- If desired, drizzle the remaining melted almond bark over the coated squares. Allow the coating to harden completely before transferring the candy to an airtight container. Keep refrigerated until serving.
Notes
- I recommend Ghirardelli or similar high-quality white chocolate chips for this recipe. Allow the melted chocolate to cool to room temperature before folding in the Cool Whip, but don’t let it start to solidify.
- Store in an airtight container in the refrigerator for up to 1 week.
- To freeze, store the candy in a freezer-safe airtight container with parchment paper between layers for up to 3 months. When ready to serve, transfer the sealed container to the refrigerator and allow the candy to thaw completely before opening it. This helps prevent sudden temperature changes and condensation that can cause the candy coating to crack.
Nutrition
Disclaimer: Nutrition information is estimated based on automated calculations and should be considered as an approximation. These estimates are provided as a courtesy. Please use your own brand’s nutritional values to verify accuracy.
