Easy Peanut Butter Blossom Cookies


This post may contain affiliate links. Please read our full disclosure policy.
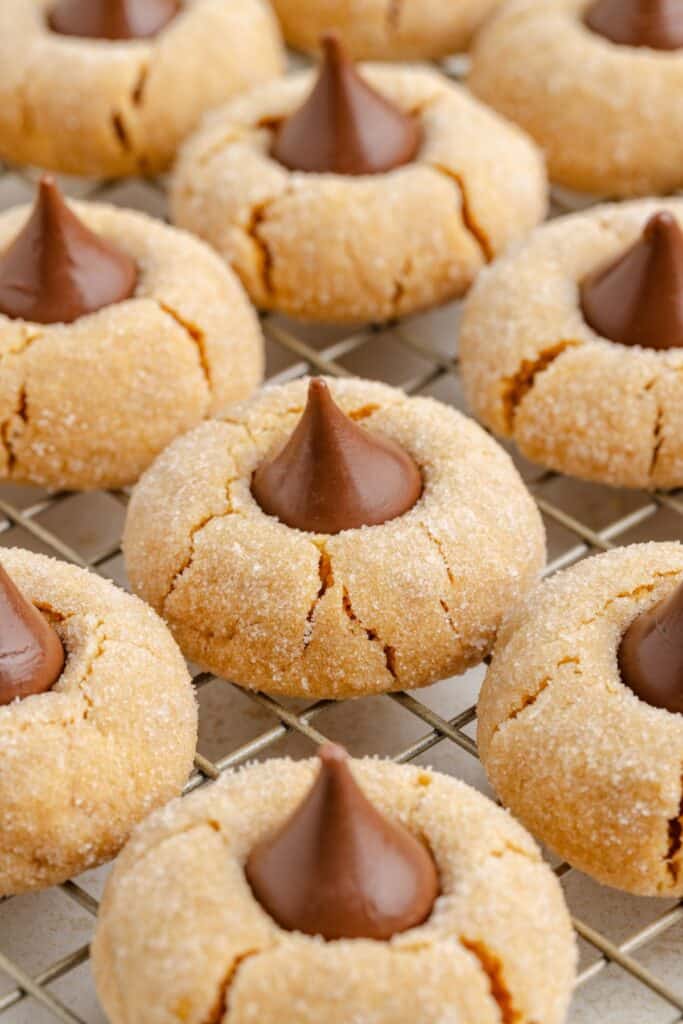
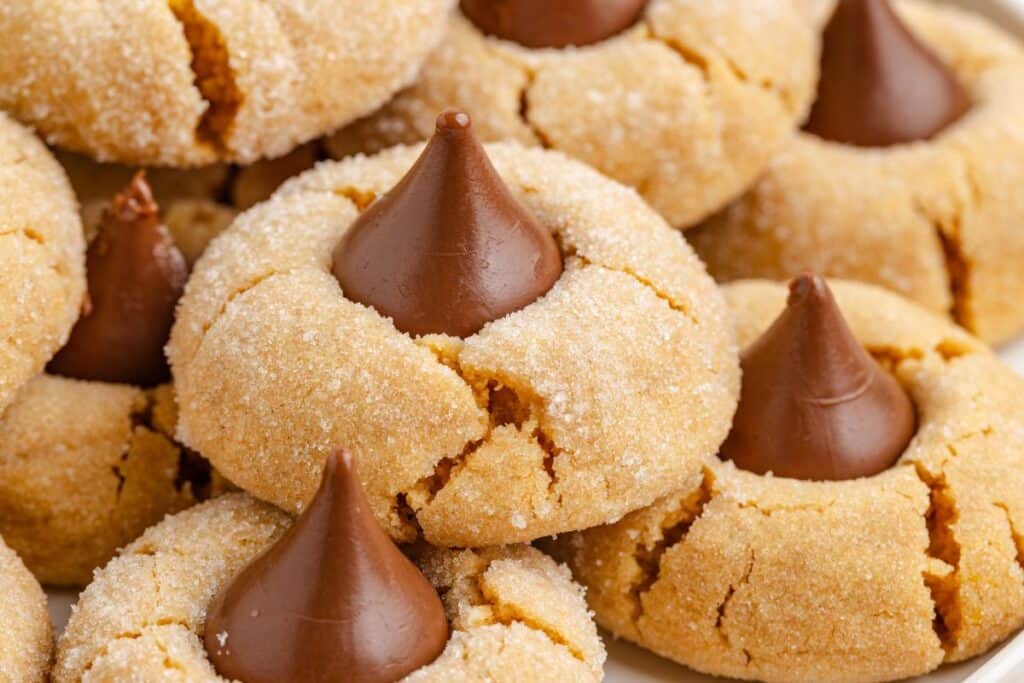
These easy Peanut Butter Blossom Cookies start with a shortcut cake mix cookie base.The soft cookies are rolled in sugar and topped with a milk chocolate kiss. These classic cookies are always a favorite for holiday baking.
Peanut Butter Kiss Cookies with Cake Mix
This recipe starts with my reader-favorite cake mix peanut butter cookie dough, and honestly, it might be my favorite cookie recipe on the blog. It’s made in one bowl with no mixer, and it turns out soft, chewy cookies every single time. If you’ve tried my Classic Cake Mix Peanut Butter Cookies, you already know how reliable the base dough is.
I love rolling these in sugar before baking. It gives the cookies a little crunch, similar to what I do for my Chocolate Peanut Butter Cookies, and it’s a simple extra step that adds a nice texture. I always include these in my holiday cookie boxes, but I also make them throughout the year. The hardest part of the recipe is, honestly, just unwrapping all the kisses.
If you love peanut butter Christmas cookies, check out my Reindeer Peanut Butter Cup Cookies!
Ingredients
- Creamy peanut butter (no-stir, like Jif or Skippy) – Adds rich peanut butter flavor and helps create a soft, chewy texture.
- Eggs – Bind the dough together and add structure.
- Vegetable or canola oil – Keeps the cookies moist and tender.
- Yellow cake mix – Acts as the base of the dough. I used Duncan Hines.
- Granulated sugar – Used for rolling the dough balls to add a light, crunchy coating.
- Milk chocolate kisses – Pressed into the center of each cookie for the classic peanut butter and chocolate combo.

How to Make the Peanut Butter Kiss Cookies
- Prep – Preheat the oven to 350 degrees F and line two baking sheets with parchment paper or silicone baking mats.
- Mix the dough – In a large mixing bowl, stir together the peanut butter, eggs, and oil until smooth. Add the cake mix and stir until a thick dough forms.

- Roll and coat – Scoop the dough into 1 ½ tablespoon-sized balls and roll each one in granulated sugar until fully coated.
- Bake – Place the dough balls on the prepared baking sheets, spacing them about 1 ½ inches apart. Bake for 9 to 11 minutes, or until the edges are set and the tops look dry.
- Add the kisses – Remove the cookies from the oven and immediately press a chocolate kiss into the center of each one. Let the cookies cool completely on the tray. Avoid moving them, as the kisses will be soft and can lose their shape if bumped.

Variations and Substitutions
- Different cake mix flavors – Swap yellow cake mix with chocolate, red velvet, or even spice cake mix for a twist on the base flavor.
- Chocolate kisses – Try different Hershey’s Kiss varieties like almond, caramel-filled, or dark chocolate for a fun change.
- No sugar coating – Skip rolling in sugar if you prefer a softer texture without the slight crunch.
- Sprinkles instead of sugar – Roll the dough balls in sprinkles for a festive, colorful option that’s great for holidays or birthdays.

Tips for Success
- Use the right peanut butter – Avoid using natural peanut butter, as the dough won’t hold together well and can bake up oily or crumbly. Stick with no-stir brands like Jif or Skippy for the best results.
- Double roll in sugar – For the best coating, I like to roll all of the dough balls in sugar once, then go back and give each one a second roll. This ensures every cookie gets a nice, even crunch.
- Do not move the cookies while cooling – After pressing the chocolate kisses into the cookies, let them cool completely on the tray. The kisses soften when warm and can easily lose their shape if moved too soon.
- Work quickly with the kisses – Unwrap the chocolate kisses before the cookies come out of the oven so you can press them in right away while the cookies are hot. The warmth helps the chocolate bond to the cookie so it stays in place once cooled.

Want to be the first to know when the next cake mix cookie recipe is published? Sign up for our newsletter updates below.
Love Peanut Butter?
Check out these easy peanut butter cookies you’ll want to try next.
Did you love these no chill peanut butter blossoms? Please leave a star rating and share your thoughts in the comments below.
Easy Peanut Butter Blossom Recipe
Ingredients
- 1 cup creamy peanut butter no-stir, like Jif or Skippy
- 2 large eggs
- ½ cup vegetable or canola oil
- 1 (15.25-ounce) box yellow cake mix I used Duncan Hines
- ⅓ cup granulated sugar
- 30 milk chocolate kisses unwrapped
Instructions
- Preheat the oven to 350 degrees F and line two baking sheets with parchment paper or silicone baking mats.
- In a large bowl, stir together the peanut butter, eggs, and oil until smooth. Add the cake mix and stir until a thick dough forms.
- Scoop the dough into 1 ½ tablespoon-sized balls. Roll each ball in granulated sugar, then repeat for a second coating.
- Place the dough balls on the prepared baking sheets about 2 inches apart. Bake for 9 to 11 minutes, or until the edges are set and the tops look dry.
- Remove the cookies from the oven and immediately press a chocolate kiss into the center of each one.
- Let the cookies cool completely on the baking sheet without moving them, as the kisses will be soft and can lose their shape if disturbed.
Notes
- Store the cookies in an airtight container at room temperature for up to 5 days. Place a sheet of parchment paper between layers to keep the kisses from smudging.
- Freezing baked cookies – Once cooled, freeze the cookies in a single layer on a baking sheet until firm, then transfer to a freezer-safe bag or container. They’ll keep well for up to 3 months. Thaw at room temperature before serving.
- Freezing dough balls – Roll the dough into balls, coat with sugar, and then freeze on a baking sheet until solid. Transfer to a freezer bag and bake straight from frozen, adding 1–2 minutes to the bake time.
- If using a 13.25 ounce box of cake mix, reduce the oil to 1/3 cup and the peanut butter to 3/4 cup + 1 tablespoon.
Nutrition
Disclaimer: Nutrition information is estimated based on automated calculations and should be considered as an approximation. These estimates are provided as a courtesy. Please use your own brand’s nutritional values to verify accuracy.