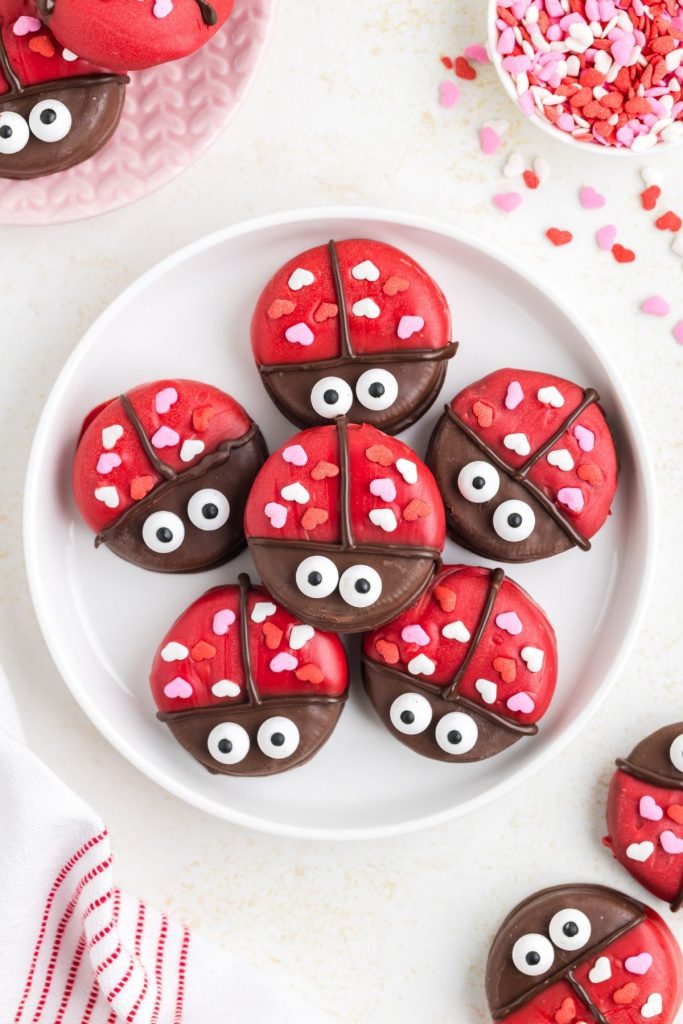
Love Bug Oreos
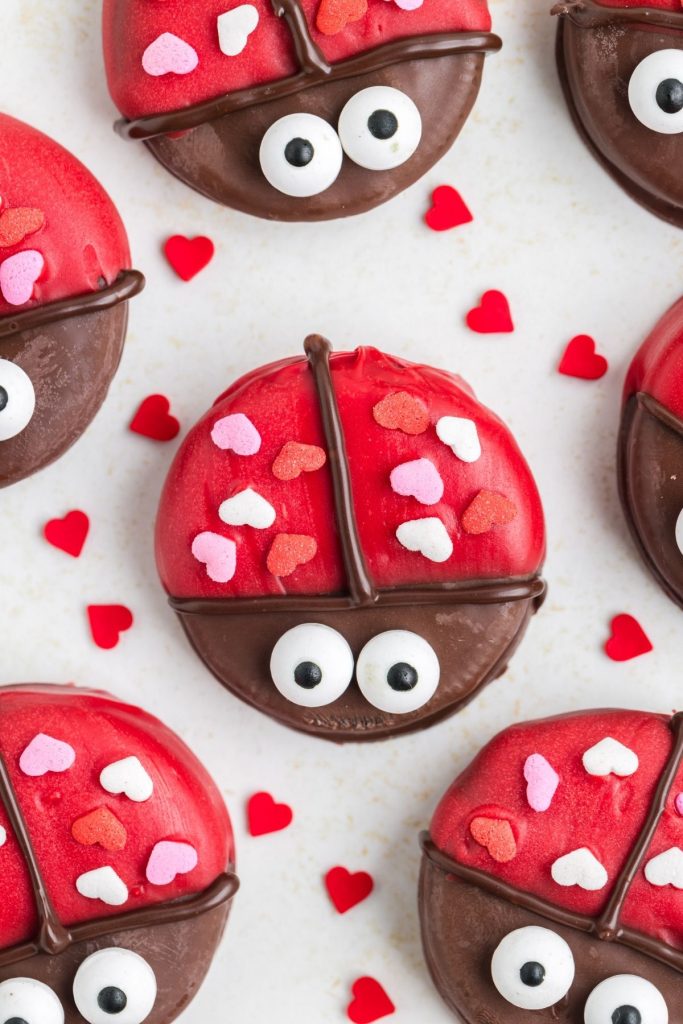
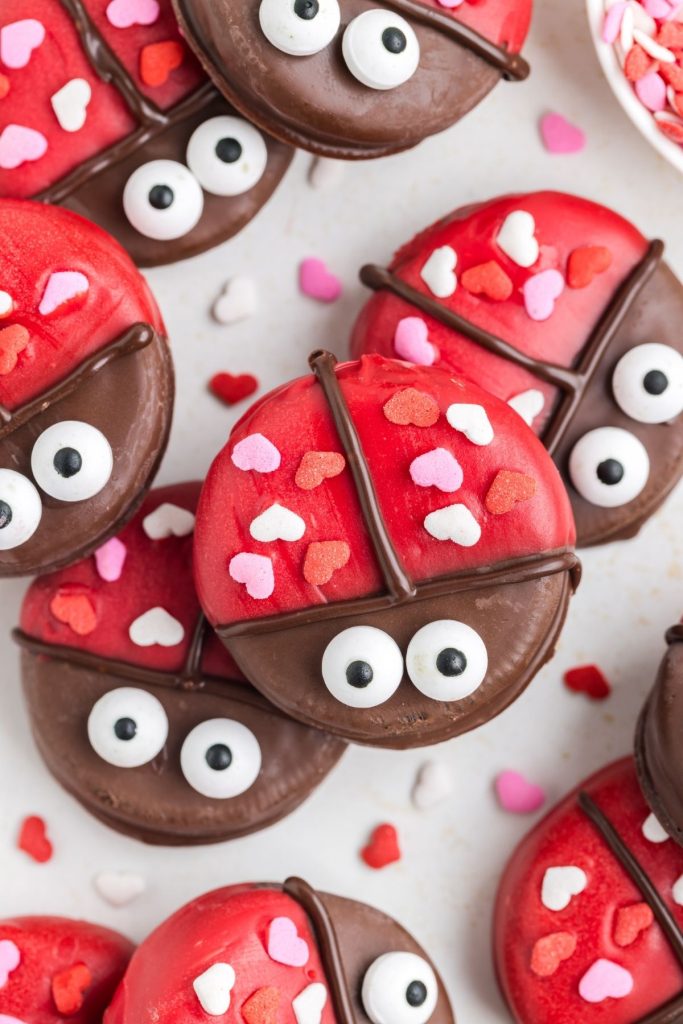
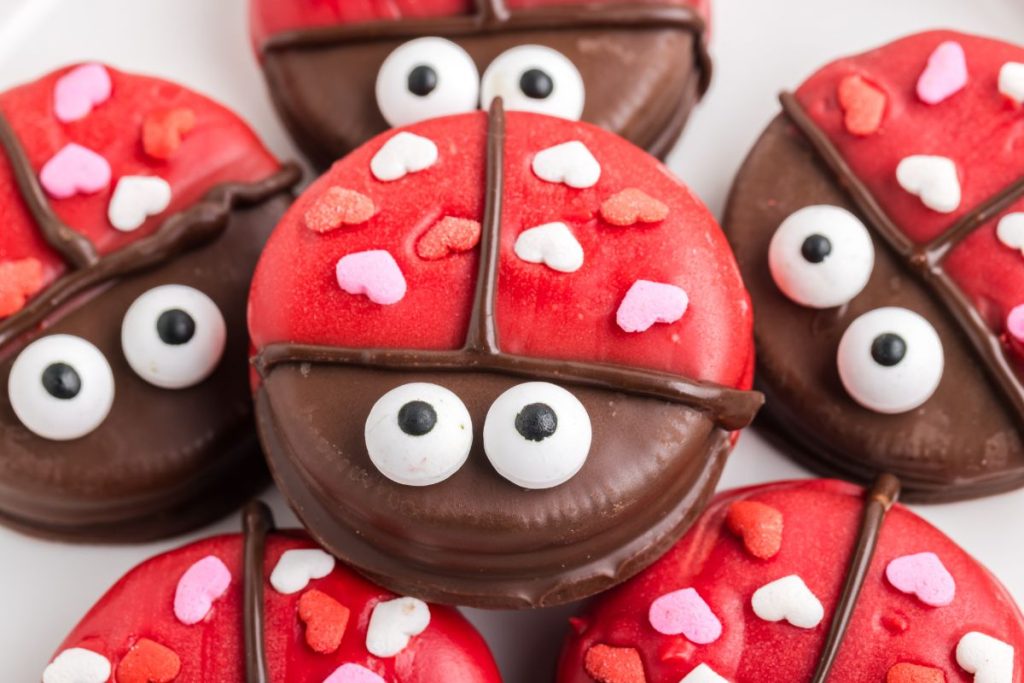
Sprinkle some sweetness into your Valentine’s Day with these easy Love Bug Oreos. Fudge-covered Oreos are the base of these no-bake treats that are as cute as they are delicious!
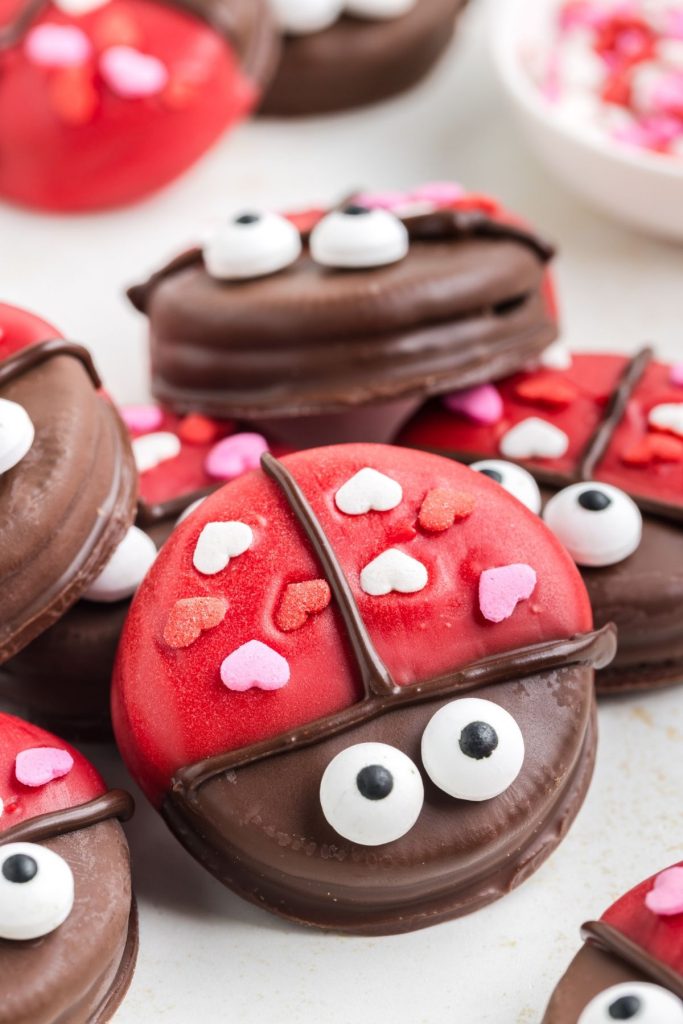
I’m all about cute and easy, and these Love Bug Oreo cookies hit the sweet spot. These fun little treats are made using just a few simple ingredients. Grab some fudge-covered Oreos, dunk them in red candy melts, sprinkle on heart-shaped toppings for those ladybug spots, and finish with candy eyes and voila! They’re not just adorable; they also make the perfect gift for your sweetheart.
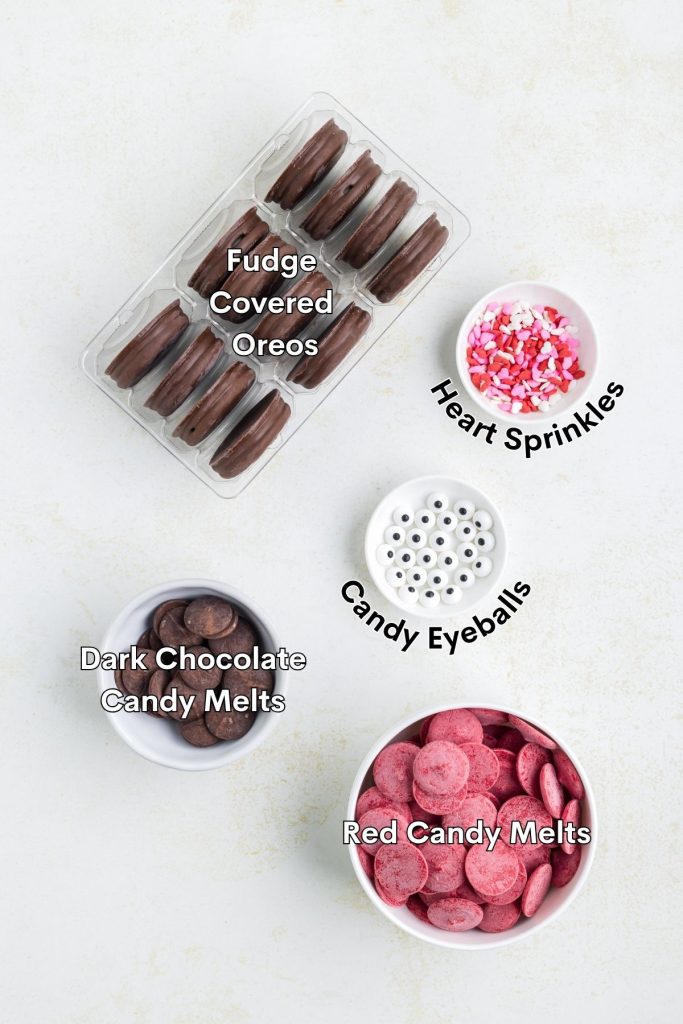
Ingredients for the Love Bug Oreos
- Fudge-covered Oreos – Create an easy, smooth base for the lovable ladybugs.
- Red candy melts – Add a classic ladybug red color to coat the Love Bug Oreos.
- Small heart sprinkles – Add a cute touch as ladybug spots. These can be found in the seasonal section at most grocery stores in January and February or year-round at your local craft store.
- Dark chocolate candy melts or dark chocolate chips – Used to pipe the line of the wings and adhere the eyes to the cookie.
- Candy eyeballs – The finishing touch for irresistible cuteness.
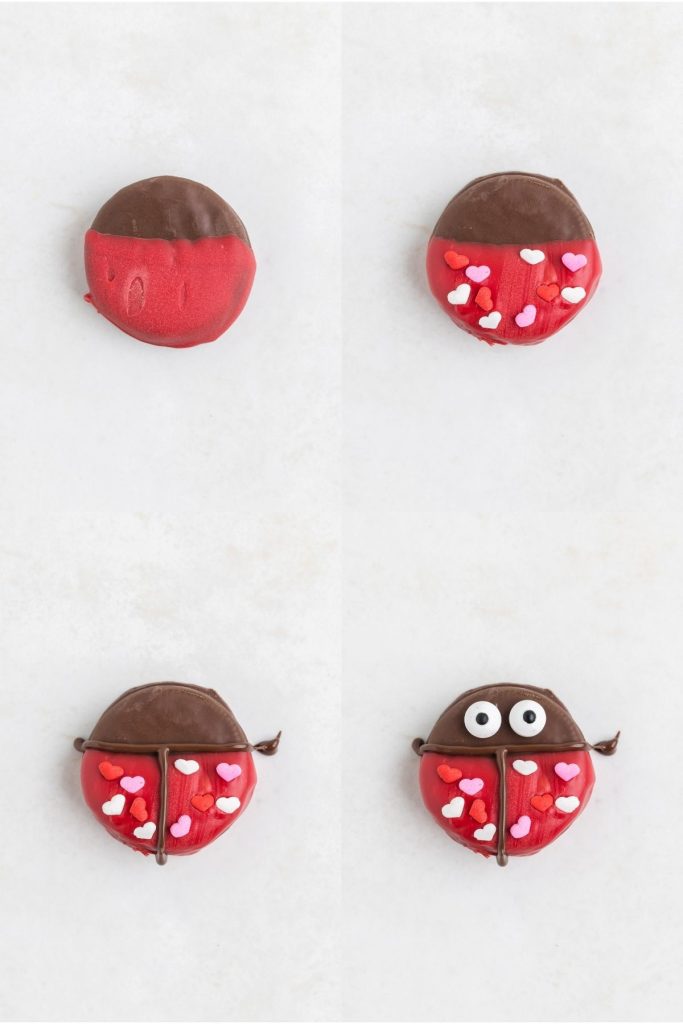
Making the Oreo Love Bug Cookies
- Preparation – To prevent sticking, begin by lining a large baking sheet with parchment or wax paper.
- Melt red candy melts – Follow the package directions to melt the red candy wafers, ensuring a smooth and easy coating process.
- Dip the cookies – Dip each Fudge-Covered Oreo into the melted red candy, covering about 3/4 of the cookie, and place the dipped cookies on the prepared baking sheet.
- Add heart sprinkles – Quickly add the heart-shaped sprinkles to the red candy coating, leaving a gap in the middle for piping the wings. Repeat for all cookies.
- Melt dark chocolate candy melts – Melt the dark chocolate candy melts per package instructions and transfer them to a piping bag with a small round tip.
- Pipe wings – Use the piping bag to draw a straight line across the ladybug where the red candy meets the fudge, then pipe a second line down the middle of the red part to create wings.
- Attach eyes – Add a small dab of dark chocolate to two edible eyes and affix them to the fudge-exposed section of the cookie, completing the love bug look. Repeat for all cookies.
- Set – Allow the assembled Love Bug Oreos to set at room temperature. Once the candy melts have solidified, your adorable treats are ready to be enjoyed.
Variations and substitutions
Chocolate-dipped Oreos: If you can’t find the Fudge-Covered Oreos, you can create your own by dipping Oreos in melted chocolate or almond bark. Allow the chocolate coating to set completely before proceeding with the rest of the instructions.
Cookie variation – Experiment with different fudge-covered cookies to add a unique twist to your Love Bug Oreos. Fudge-covered peanut butter cookies are a great alternative.
Classic ‘naked’ Oreos: If you prefer a simpler version, use regular Oreos without any coating as the base.
Nonpareils sprinkles – Switch out the heart-shaped sprinkles for nonpareils to create a textured and colorful coating for your Love Bug Oreos.
Tips for success
- Adjust candy melts consistency – If the candy melts are too thick, add a teaspoon or two of vegetable shortening or oil to achieve a smoother consistency.
- Timely sprinkle addition – To ensure the sprinkles adhere, add them immediately after dipping the cookie in the candy melts. This ensures they stick before the coating sets.
- Dipping vessel – Opt for a skinny and tall vessel when melting the red candy. This shape makes it easier to dip the cookies, ensuring an even and attractive coating.
- Make your piping bag – If you don’t have a piping bag and tip, use a Ziploc bag with a corner cut off. This makeshift piping bag works well for adding precise details, like drawing the lines for the wings.
- Avoid refrigeration – I do not recommend refrigerating the assembled cookies. Many candy eyeball brands will bleed when exposed to the refrigerator’s moisture, resulting in a creepy-looking love bug. If your kitchen is warm and you are concerned the candy melts won’t set without refrigeration, I recommend waiting to add the eyeballs until you are ready to serve.
How to store the Love Bug Oreos
Store your Love Bug Oreos in an airtight container at room temperature in a cool and dry place for up to two weeks. Ensure they are in a single layer or separated by parchment paper to prevent sticking.
Just as I do not recommend refrigerating the cookies, I do not recommend freezing them either to avoid candy eyeball bleed.
Want to be the first to know when the next no-bake recipe is released? Sign up for our newsletter updates below.
Looking for more Valentine’s Day treats?
Check out these easy recipes.
Did you love these little love bugs? Let us know your thoughts in the comments below.

Love Bug Oreos
Ingredients
- 1 packet fudge-covered Oreos 12-count
- 1 (10 ounce) bag of red candy melts
- 1/4 cup small heart-shaped sprinkles
- 3 tablespoons dark chocolate candy melts
- 24 candy eyeballs
Instructions
- Line a large baking sheet with parchment or wax paper.
- Melt the red candy melts according to the package directions.
- Dip the Oreos in the candy melts until 3/4 of the cookie is covered.
- Place the cookie on the prepared baking sheet. Immediately add the heart sprinkles to the red candy melts leaving a space in the middle to pipe on the wings. Repeat with the remaining cookies.
- Melt the dark chocolate candy melts according to the package direction and add them to a piping bag fitted with a small round tip.
- Pipe a line across the ladybug where the red candy melts and the Fudge of the cookie meet. Pipe a second line down the middle of the red part of the cookie to create the wings.
- Add a dab of the dark chocolate to two candy eyeballs and attach them to the fudge exposed cookie to finish the love bug. Repeat with the remaining cookies.
- Allow the candy melts to set completely before enjoying.
Notes
- Store your Love Bug Oreos in an airtight container at room temperature, in a cool and dry place for up to two weeks. Ensure they are in a single layer or separated by parchment paper to prevent sticking.
- I do not recommend freezing the cookies to avoid candy eyeball bleed.
Disclaimer: Nutrition information is estimated based on automated calculations and should be considered as an approximation. These estimates are provided as a courtesy. Please use your own brand’s nutritional values to verify accuracy.