Chocolate Kiss Cookies
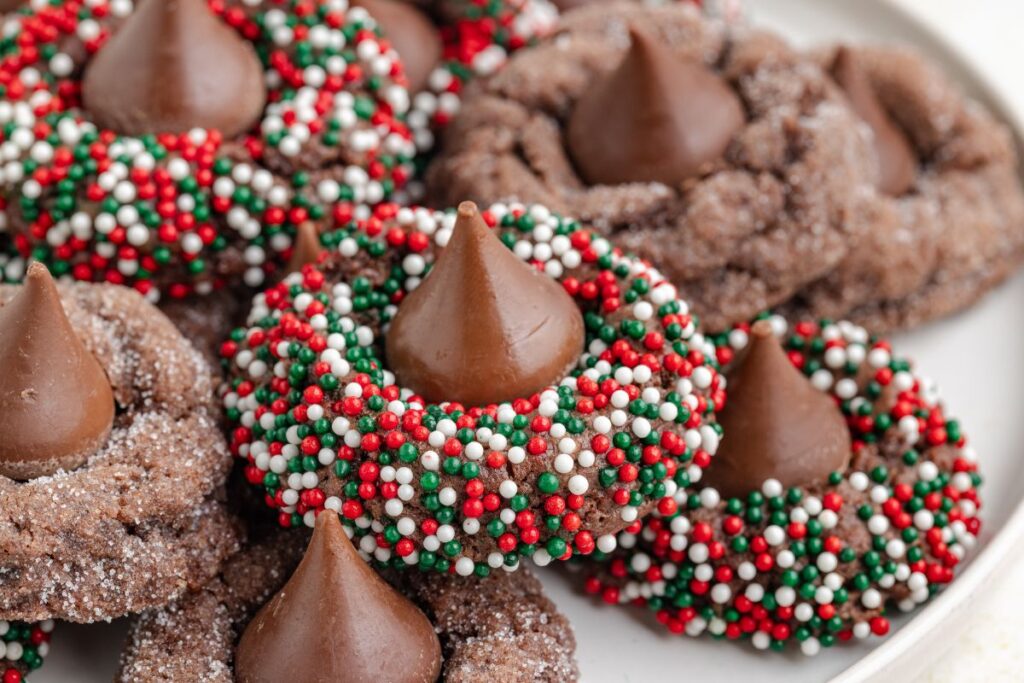
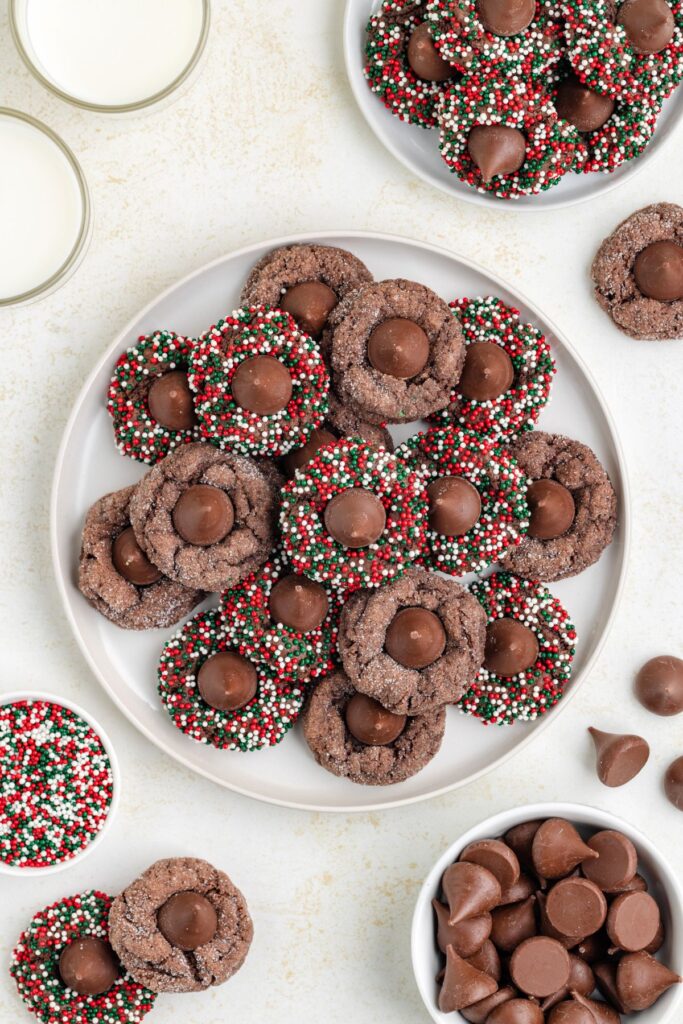
These chocolate kiss cookies are made with a cake mix and cream cheese base and rolled in festive sprinkles or crunchy sugar for extra flavor and texture. They’re easy to make and turn out soft and delicious every time.

Easy Chocolate Kiss Cookies
This cookie starts with one of my favorite cake mix cookie bases, which I’ve also used for recipes like my Strawberry Kiss Cookies and Gooey Butter Cookies. The combination of cream cheese and cake mix gives these cookies an incredibly soft and creamy texture. It’s a versatile base that works perfectly for so many flavors and variations.
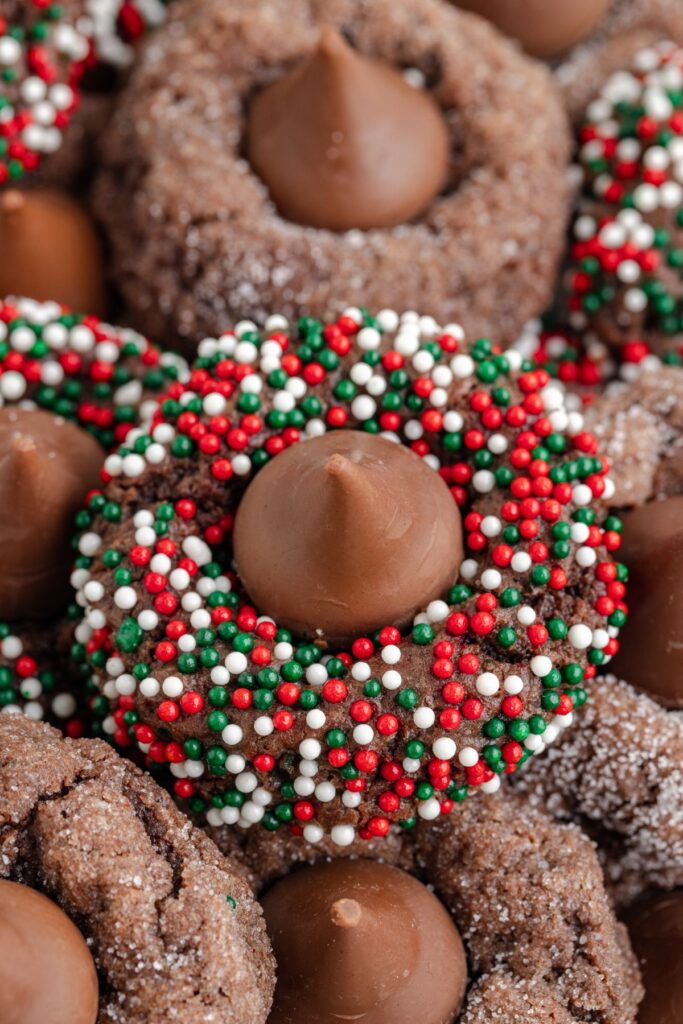
One of the best things about these cookies is how easy they are to customize. Roll them in granulated sugar for a classic, simple look, or use festive sprinkles to match any holiday or special occasion. Whether you’re celebrating with red and green sprinkles for Christmas, pastel colors for Easter, or bright hues for a birthday, these cookies can fit any theme with just a quick swap of decorations.
Ingredients
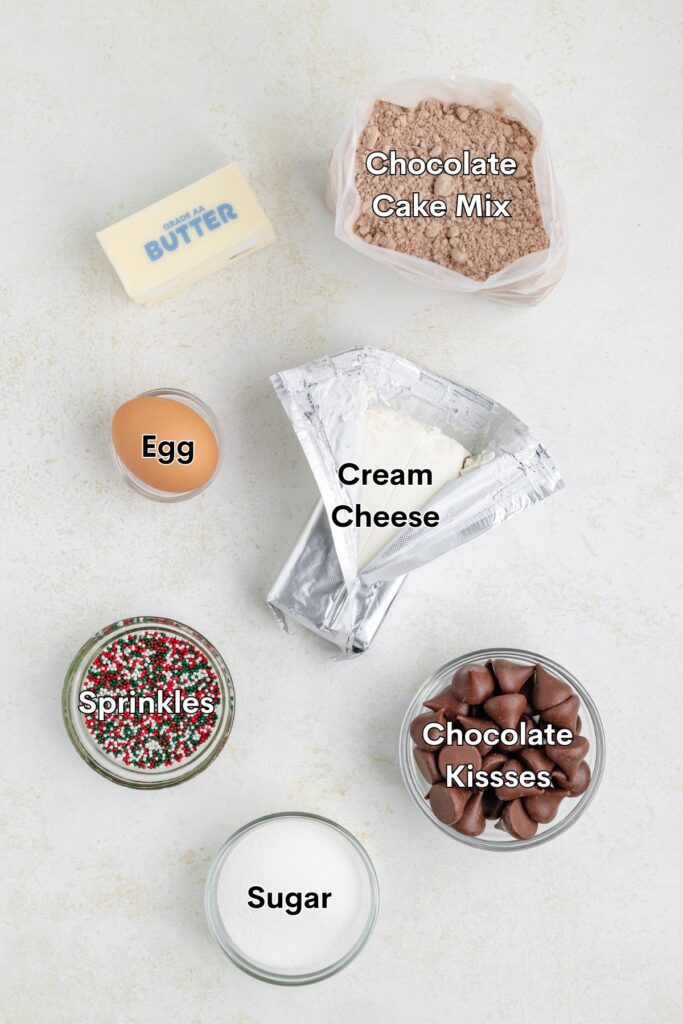
- Chocolate cake mix – Provides the base with rich chocolate flavor.
- Cream cheese – Makes the cookies soft and creamy.
- Unsalted butter – Adds moisture and richness.
- Egg – Helps bind the dough together.
- Granulated sugar or sprinkles – Adds texture and a decorative touch.
- Chocolate kisses – Topping that adds a classic chocolate finish.
Making the Soft Chocolate Cookies
- Prep – Preheat your oven to 350 degrees F and line baking sheets with parchment paper. Unwrap the chocolate kisses and set them aside.
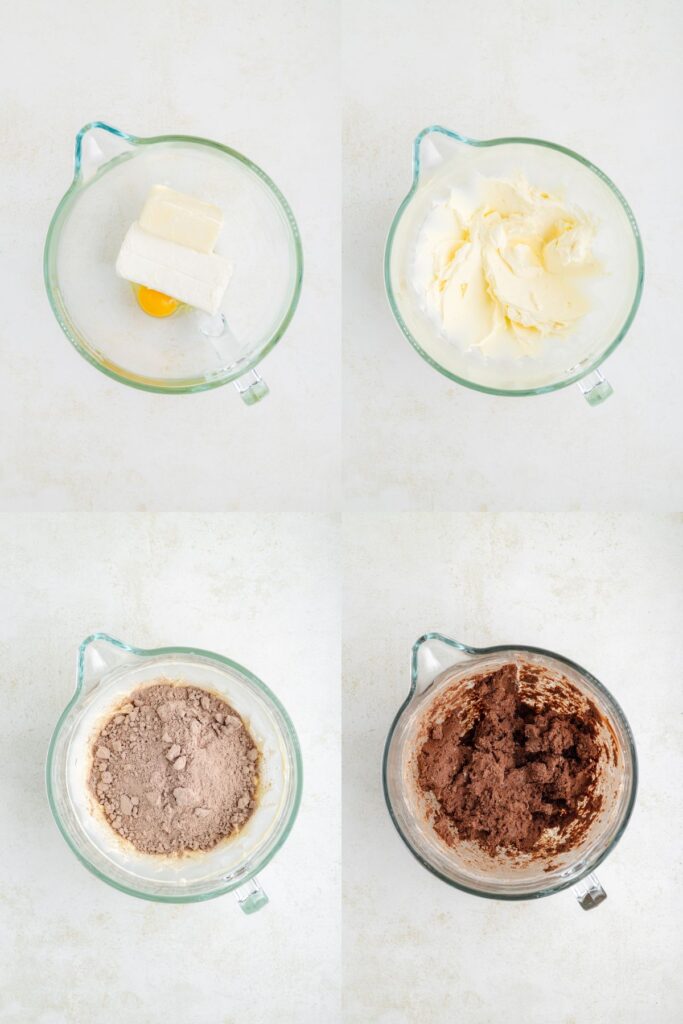
- Mix the Dough – In a large bowl of a stand mixer, beat the softened cream cheese, butter, and egg together with the paddle attachment until smooth. Stir in the chocolate cake mix until a soft dough forms.
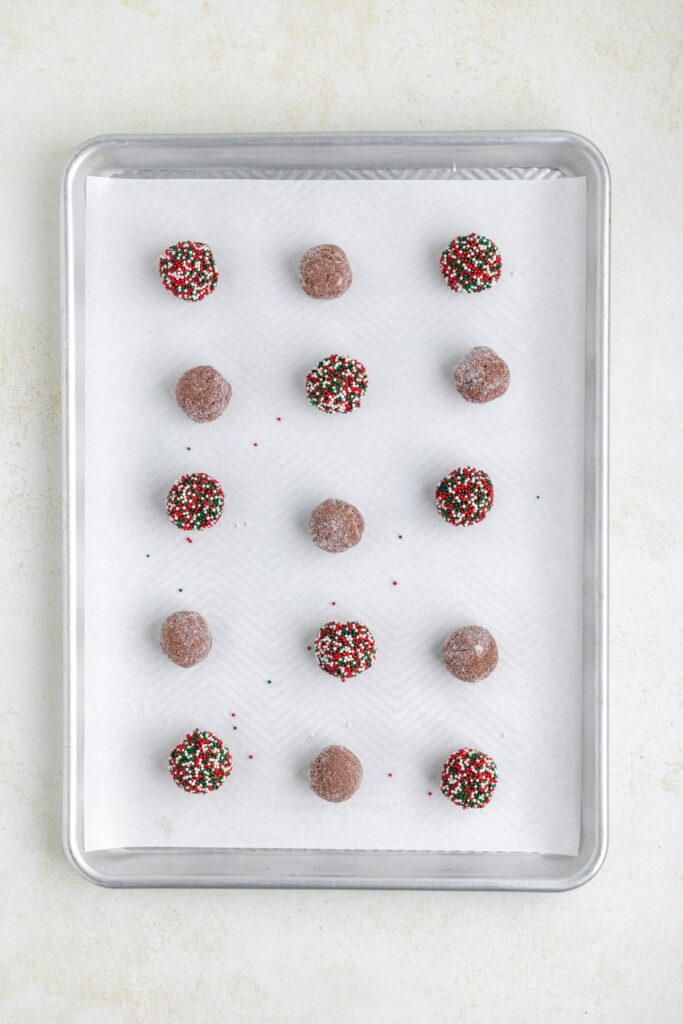
- Shape and coat – Scoop about 1 tablespoon of dough and roll it into a ball. Roll the cookie dough balls in granulated sugar or sprinkles, coating them evenly.
- Bake – Place the coated dough balls on the prepared baking sheet about 2 inches apart. Bake for 7–9 minutes, or until the edges are set but the centers look slightly soft.
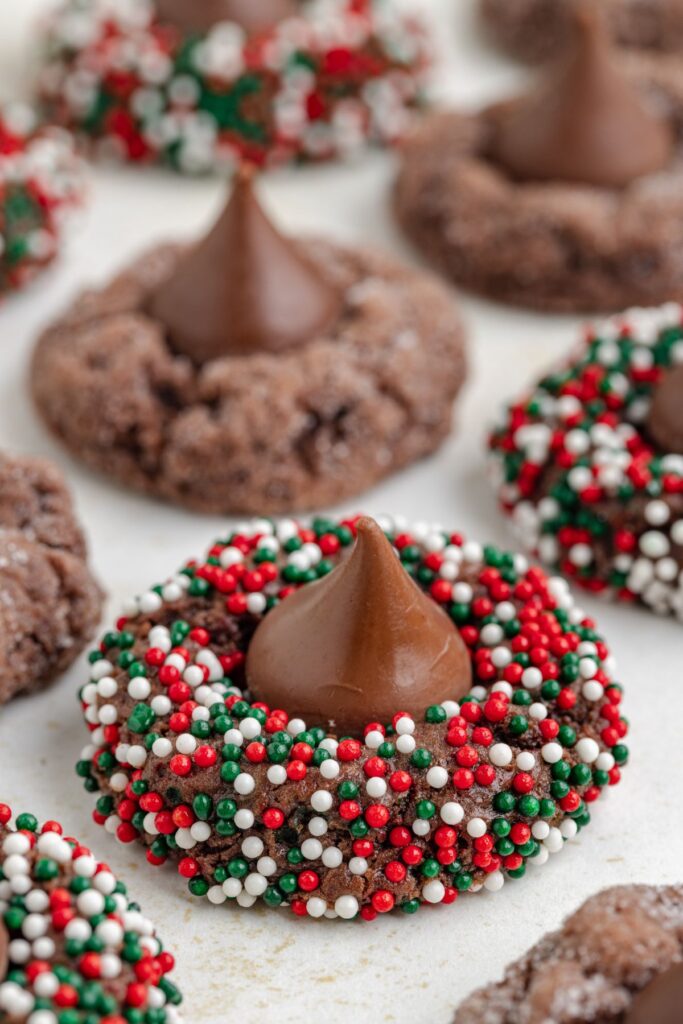
- Add the chocolate kiss – Remove the cookies from the oven and immediately press a chocolate kiss into the center of each cookie. Allow the cookies to cool completely on the baking sheet. Do not move the trays until the kisses have firmed up again to prevent them from becoming misshapen.
Variations and Substitutions
Cake Mix Flavors – Swap the chocolate cake mix for another flavor, like red velvet or yellow cake mix for a different base.
Chocolate Kisses – While milk chocolate kisses are the classic choice for these cookies, you can try different Hershey kisses, such as caramel-filled, almond, or dark chocolate, for a fun twist.
Coating Options – Roll dough in powdered sugar, crushed candy canes, or colored sanding sugar for an alternative coating.
Sprinkles – Customize the sprinkles to match holidays or events, like red and green for Christmas, pink and red for Valentine’s Day, or orange and black for Halloween.
Butter Substitution – Use salted butter if that’s what you have on hand.
Tips for Success
- Soften Ingredients – Make sure the cream cheese and butter are softened to room temperature for a smooth, easily mixed dough.
- Cookie scoop – Use a cookie scoop for evenly sized cookies to ensure they bake evenly.
- Chill if Necessary – If the dough feels too sticky to roll, chill it in the fridge for 20-30 minutes to make it easier to handle.
- Even Coating – Roll the dough balls thoroughly in sugar or sprinkles to ensure an even coating.
- Press the kiss immediately – Press the unwrapped kiss into the middle of each cookie as soon as they come out of the oven. The warmth of the hot cookie will slightly melt the bottom of the kiss, helping it stick securely to the surface.
- Cooling time – Allow the cookies to cool completely on the baking sheet. Moving them too soon can cause the kisses to lose their shape.
Storing the Chocolate Blossom Cookies
Store the cookies in an airtight container in a single layer or with parchment or wax paper between layers to prevent the chocolate kisses from smudging for 4-5 days.
The cookies can be frozen for up to 3 months. Keep in mind that the sprinkles may smudge or lose their color vibrancy when thawed, depending on the type used.
Want to be the first to know when more delicious cookies are published? Sign up for our newsletter updates below.
Looking for more cookie recipes for your holiday cookie tray?
Check out these favorite Christmas cookies.
Did you love this chocolate kiss cookie recipe? Let me know what you think in the comments below.
Chocolate Kiss Cookies
Ingredients
- 1 (15.25 ounce) box chocolate cake mix
- 8 ounces cream cheese softened
- 1/2 cup unsalted butter softened
- 1 large egg
- 1/2 cup granulated sugar or sprinkles for coating
- 36 chocolate kisses unwrapped
Instructions
- Preheat the oven to 350 degrees and line baking sheets with parchment paper.
- In a large bowl, beat the softened cream cheese, butter, and egg until smooth. Stir in the chocolate cake mix until a soft dough forms.
- Scoop about 1 tablespoon of dough and roll it into a ball. Roll the ball in granulated sugar or sprinkles until coated.
- Place the coated dough balls on the prepared baking sheets about 2 inches apart.
- Bake for 7–9 minutes, or until the edges are set but the centers look slightly soft.
- Remove the cookies from the oven and immediately press a chocolate kiss into the center of each cookie. The warm cookie will slightly melt the base of the kiss, helping it stick.
- Allow the cookies to cool completely on the baking sheet. Do not move the trays until the kisses have firmed up again to prevent them from becoming misshapen.
Notes
- Store the cookies in an airtight container in single layer or with parchment paper between layers to prevent the chocolate kisses from smudging for 4-5 days.
- The cookies can be frozen for up to 3 months. Keep in mind that the sprinkles may smudge or lose their color vibrancy when thawed, depending on the type used.
Nutrition
Disclaimer: Nutrition information is estimated based on automated calculations and should be considered as an approximation. These estimates are provided as a courtesy. Please use your own brand’s nutritional values to verify accuracy.

