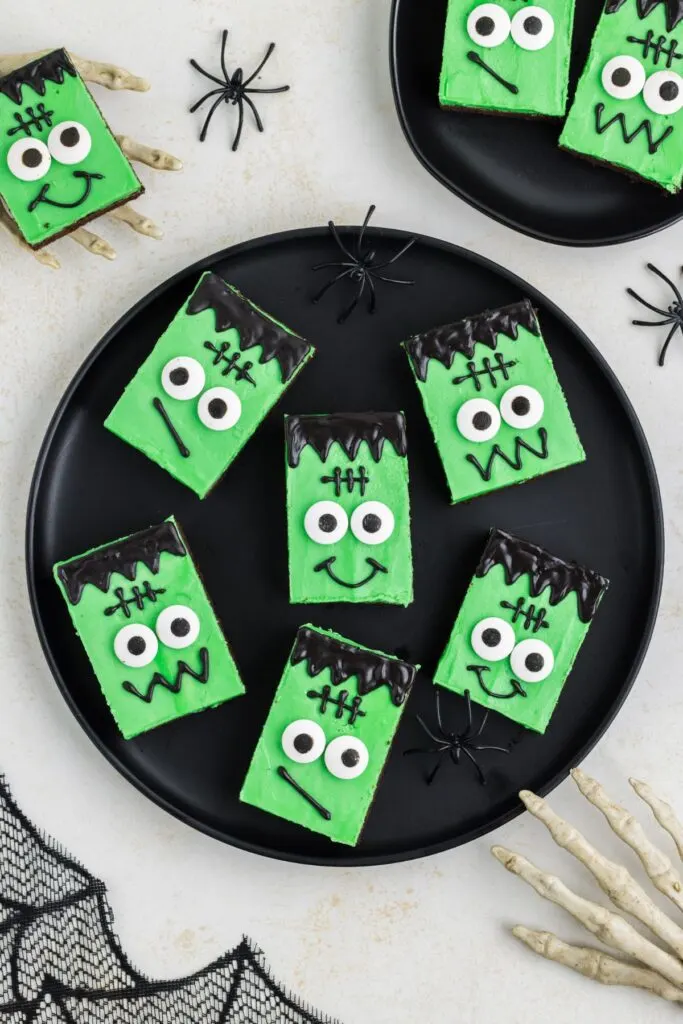
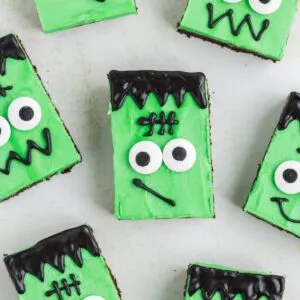
These adorable Frankenstein Cookie Bars combine a cake mix cookie base in bar form with simple homemade buttercream frosting for a fun and easy treat. These bars are perfect for a Halloween party or any spooky-themed event.

Easy Frankenstein Cookies
Halloween is my favorite holiday, but I lean towards the cute side of it rather than the scary part. I’m thrilled to share my favorite Halloween treats over the next few months, starting with these adorable Frankenstein Cookie Bars.
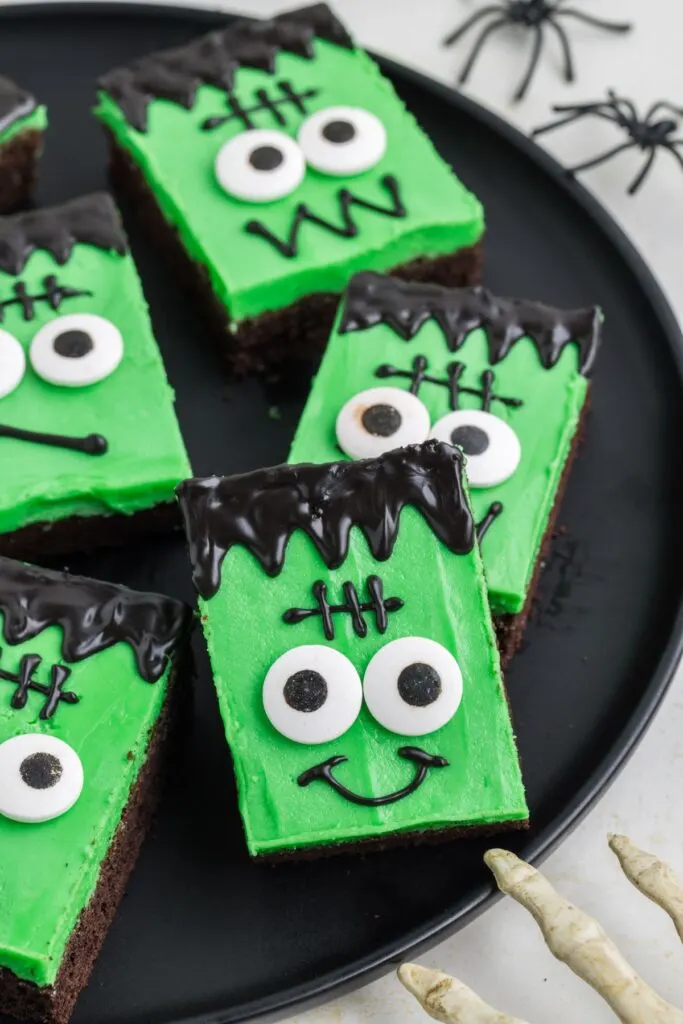
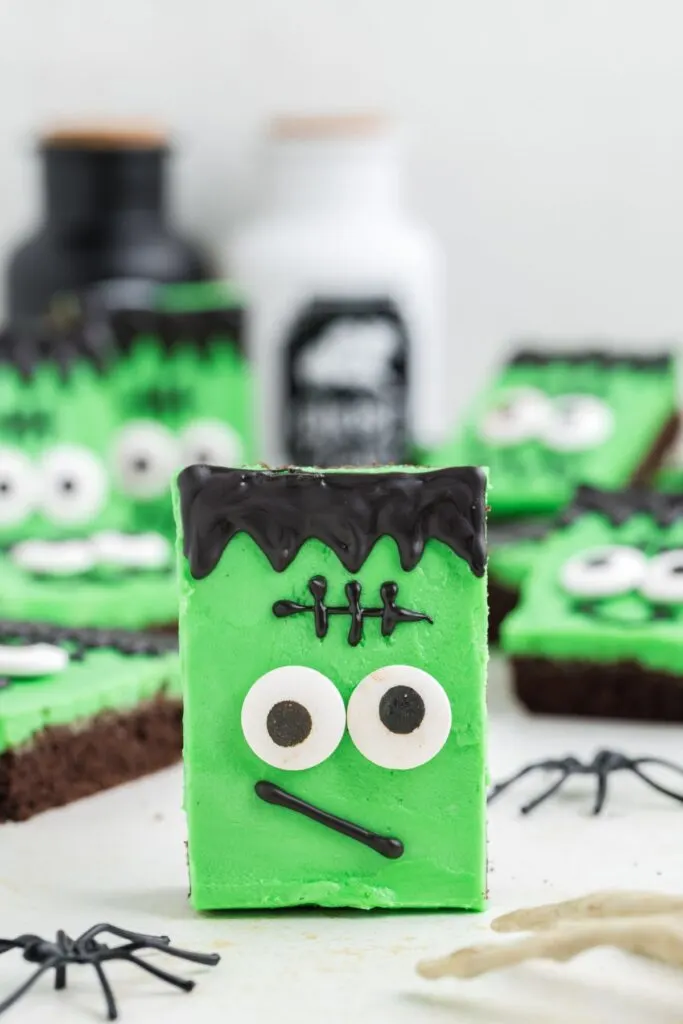
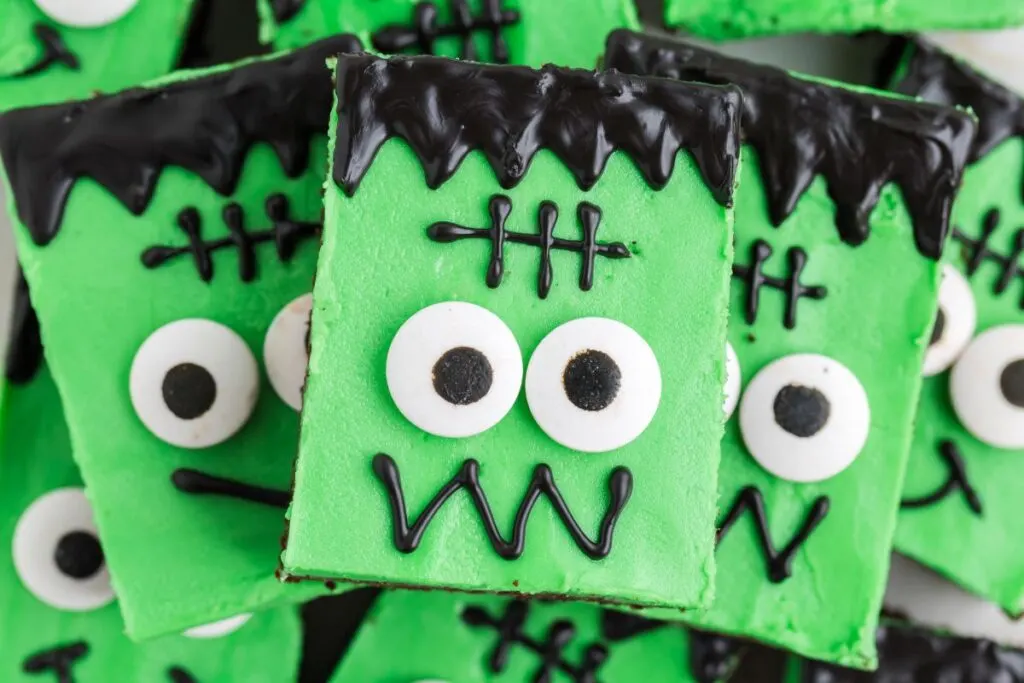
Made with a simple cake mix cookie base baked in a 9×13-inch pan, the rectangular shape makes the perfect Frankenstein head. The bars are easy to cut and assemble. They are great for getting kids involved in decorating, and I love how each bar has its own unique personality based on how you add their facial features. I chose a mix of smiley, scary, and concerned faces—LOL! They really are the perfect Halloween treat!
If you love easy, fun desserts, check out these Dirt and Worm Cookies!
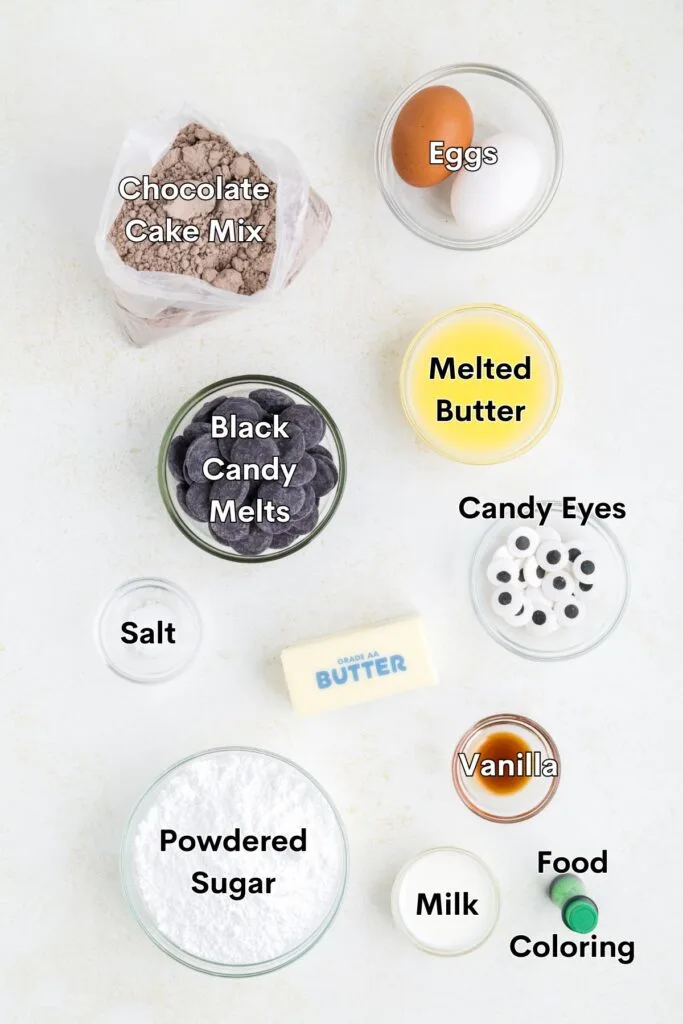
Ingredients
- Chocolate cake mix: This forms the base of our cookie bars, providing a rich chocolate flavor and a soft, chewy texture.
- Eggs: Help bind the ingredients and add moisture to the cookie bars.
- Melted butter: Melted butter adds a rich, buttery flavor and ensures a tender, moist texture in the cookie base.
- Butter: The base of our buttercream frosting, giving it a creamy, rich consistency.
- Powdered sugar: Sweetens the frosting and provides a smooth, silky texture.
- Vanilla extract: Enhances the overall flavor of the frosting.
- Salt: A pinch of salt balances the sweetness of the frosting.
- Milk: Helps achieve the right consistency for the buttercream frosting.
- Green food coloring: Transforms the frosting into the perfect Frankenstein shade.
- Black candy melts: Creates the hair and Frankenstein faces.
- Large candy eyeballs: Give each Frankenstein bar a fun and spooky personality.
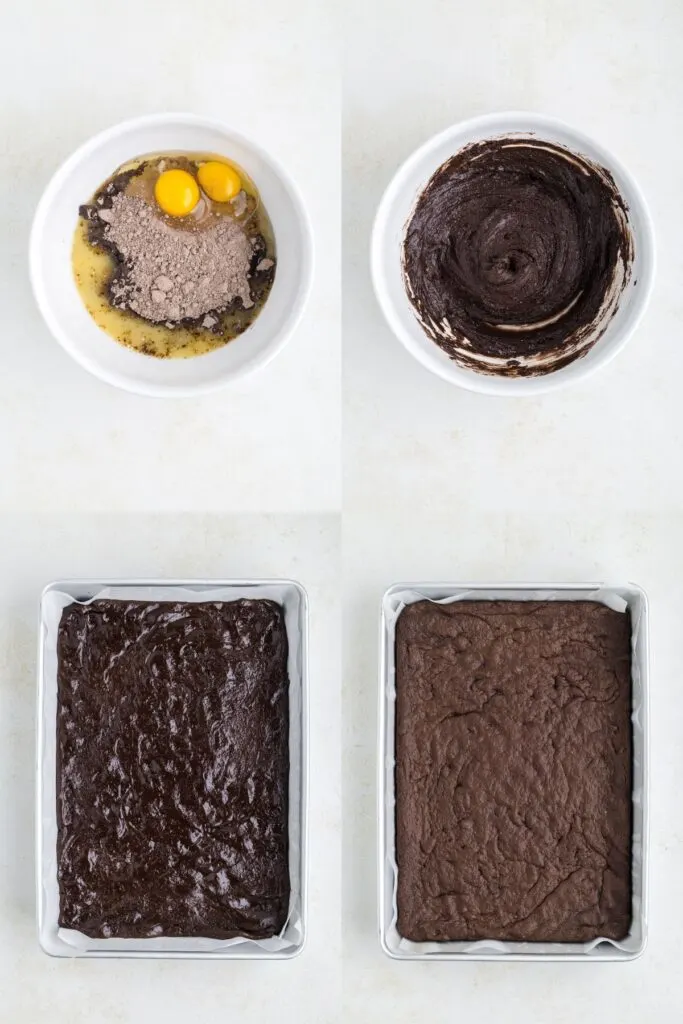
Making the Cute Cookies
- Preheat and prepare: Preheat your oven to 350 degrees F. Grease a 9×13-inch baking pan or line it with parchment paper for easy removal.
- Make the cookie base: In a large mixing bowl, combine the chocolate cake mix, eggs, and melted butter. Mix until well blended and a dough forms. Spread the dough evenly into the prepared baking pan.
- Bake: Bake in the preheated oven for 15-20 minutes, or until the edges are set and a toothpick inserted in the center comes out clean. Allow to cool completely in the pan.
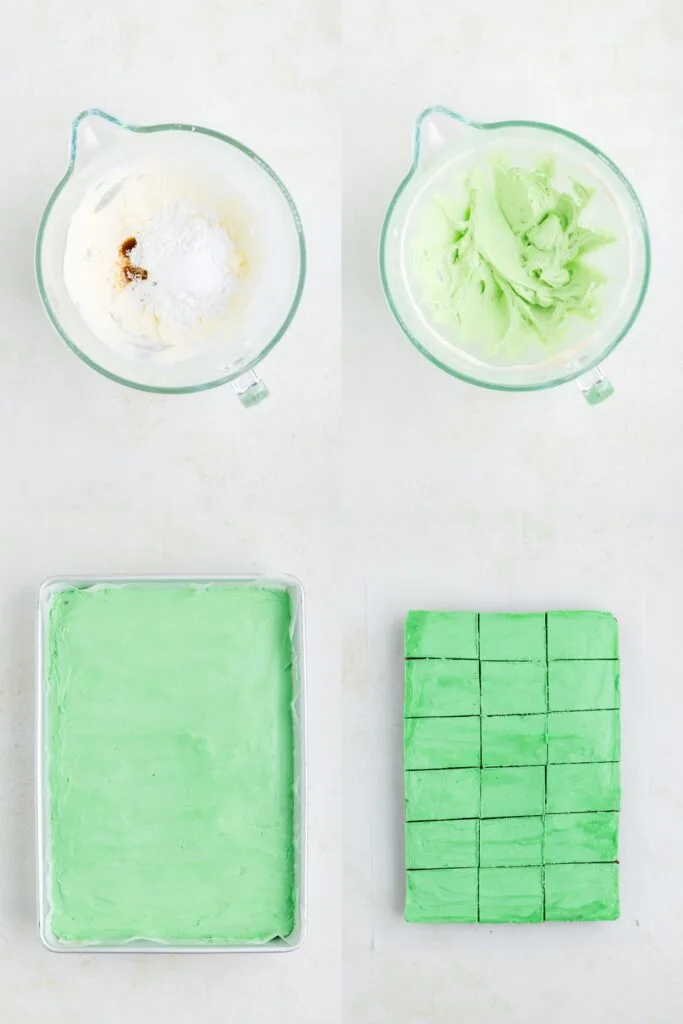
- Prepare the buttercream: In a large bowl, beat the softened butter with a stand or hand mixer until smooth and creamy. Gradually add powdered sugar, vanilla, and a pinch of salt. Beat on low speed until combined, then increase to high speed and beat until light and fluffy. Add milk as needed to reach the desired consistency.
- Color the frosting: Add green food coloring to the frosting and mix until the color is evenly distributed.
- Frost the cookie: Spread the green frosting evenly over the cooled cookie in the pan.
- Cut the bars: Cut the frosted cookie bars into rectangles to form Frankenstein’s heads.
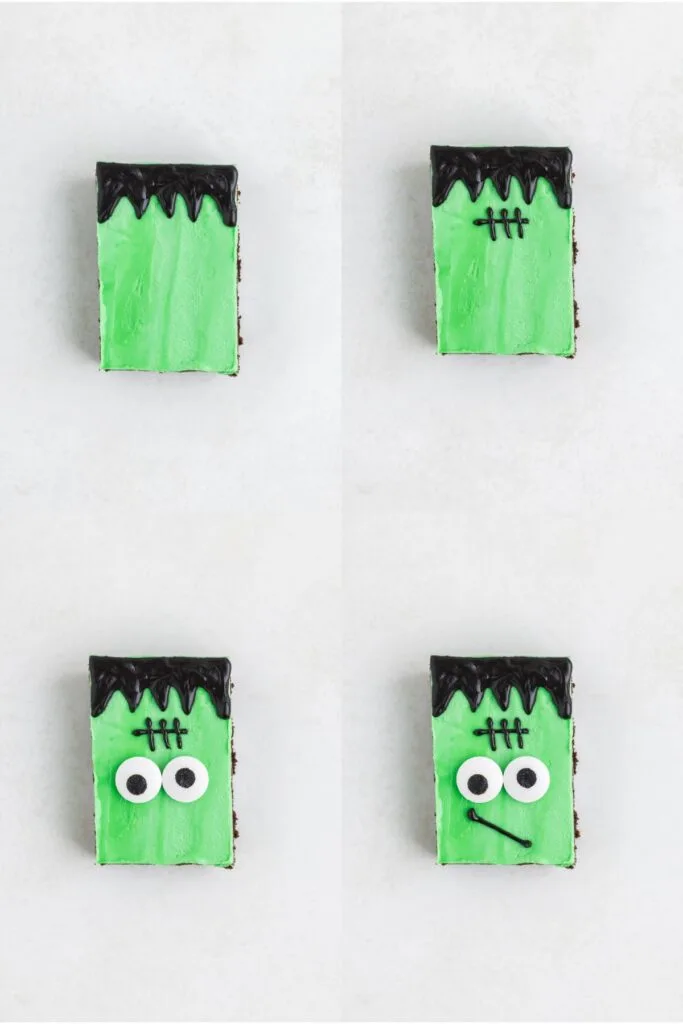
- Decorate: Melt the black candy melts according to the package instructions. Using a piping bag or a plastic bag with a small corner cut off, pipe the black candy melts to create hair, scar, and mouth on top of the bars. Add candy eyes to each bar to give the little guys personality.
- Set and serve: Allow the decorations to set before serving. Enjoy your adorable Frankenstein Cookie Bars!
Variations and substitutions
Base alternatives: If you’re not a fan of cake mix cookie bars, you can easily switch to a sugar cookie base, brownie base, store-bought cookie dough, or your favorite cookie bar recipe.
Frosting options: To save time, use store-bought frosting instead of making your own. Grab a tub of white frosting and color it green, or if you’re lucky, you may find a tub of green frosting at your local store.
Chocolate features: Use chocolate frosting or melted chocolate chips to pipe the features instead of candy melts.
Flavored Frosting: To complement the chocolate base, add a twist by mixing in a few drops of mint or almond extract.
Tips for success
- Cool Completely: Allow the cookie base to cool completely in the pan before frosting. This prevents the frosting from melting and becoming too runny.
- Even spreading: Use an offset spatula to spread the frosting evenly over the cooled cookie base for a smooth finish.
- Refrigerate before cutting: After frosting the cookie bars, refrigerate them for 20-30 minutes to allow the buttercream to set. This makes for cleaner cuts and easier handling.
- Piping tips: When using melted candy or chocolate for the facial features, let it cool slightly before piping to avoid running. A piping bag with a small tip (I used Wilton #3 tip) or a plastic bag with a small corner cut off can help create precise details.
- Large candy eyes: Use large candy eyes for decorating. They create a cuter face compared to standard-size eyes, which may appear too small. Most grocery stores stock large eyes around Halloween, but if you can’t find them there, most craft stores carry them year-round in the baking aisle
How to Store the Bar Cookies
Store the cookie bar in an airtight container at room temperature for 3-4 days.
For extended storage, freeze the cookie bars without the candy eyes, as they can bleed when exposed to moisture. First, place the bars on a baking sheet and flash freeze them for about an hour. Once they are solid, wrap each bar individually in plastic wrap, then place them in a freezer-safe container or bag. They can be frozen for up to three months. Thaw in the refrigerator or at room temperature before serving.
Want to be the first to know when the next easy Halloween treat is published? Sign up for our newsletter updates below.
Looking for more Halloween recipes?
Check out these easy recipes.
Did you love these Frankenstein bars? Let me know what you think in the comments below.
Cute Frankenstein Cookie Bars
Ingredients
Cookie Bars
- 1 (15. 25 ounce) box chocolate cake mix
- 2 eggs
- 1/2 cup butter melted
Buttercream Frosting
- 3/4 cup unsalted butter softened
- 3 cups powdered sugar
- 1 tsp vanilla extract
- 1/4 tsp salt
- 2-4 tbsp milk
- Green food coloring
Decorations
- 1 cup black candy melts
- 36 large candy eyes
Instructions
- Preheat your oven to 350 degree F. Grease a 9×13 inch baking pan or line it with parchment paper.
- In a large bowl, combine the chocolate cake mix, eggs, and melted butter. Mix until well blended and a dough forms. Press the dough evenly into the prepared pan.
- Bake in the preheated oven for 15-20 minutes, or until the edges are set and a toothpick inserted in the center comes out clean. Allow to cool completely in the pan.
- In a medium bowl, beat the softened butter until creamy. Gradually add powdered sugar, vanilla, and salt. Beat on low speed until combined, then increase to high speed and beat until light and fluffy. Add milk as needed to reach the desired consistency.
- Add green food coloring to the frosting and mix until the color is evenly distributed.
- Spread the green frosting evenly over the cooled cookie bars.
- Refrigerate the frosted bars for 20-30 minutes to allow the buttercream to set. This step is optional, but allows for a cleaner cut.
- Cut the frosted cookie bars into rectangles to form Frankenstein’s heads.
- Melt the black candy melts according to the package instructions. Using a piping bag or a plastic bag with a small corner cut off, pipe the black candy melts to create hair, scar and mouth.
- Place candy eyes on each bar to give them personality.
- Allow the decorations to set before serving.
Notes
- Storage: Store in an airtight container for up to three days.
- Freezer: Flash freeze the bars without candy eyes on a baking sheet for an hour. Wrap individually in plastic wrap and store in a freezer-safe container or bag for up to three months. Thaw before adding candy eyes and serving.
Nutrition
Disclaimer: Nutrition information is estimated based on automated calculations and should be considered as an approximation. These estimates are provided as a courtesy. Please use your own brand’s nutritional values to verify accuracy.

